booklet research

week eight – thursday 19 september

contextualisation of output
I have finalised my decision on my output, my data will be represented in a booklet. This is the ideal output for my data as it is easily distributed to people and is less permanent than a poster or a billboard would be – this has become important in my design as some of the data I have collected is sensitive to time and environment (e.g: Trump, Capitalism, Brexit etc) as they may not be helpful to print and display in certain locations. If for some reason the booklet is no longer an option I think I could choose a more simple application of my design as a hologram, this would enable me to focus my design on the render aspect of my code than the data & personalisation.

why a booklet over other outputs?
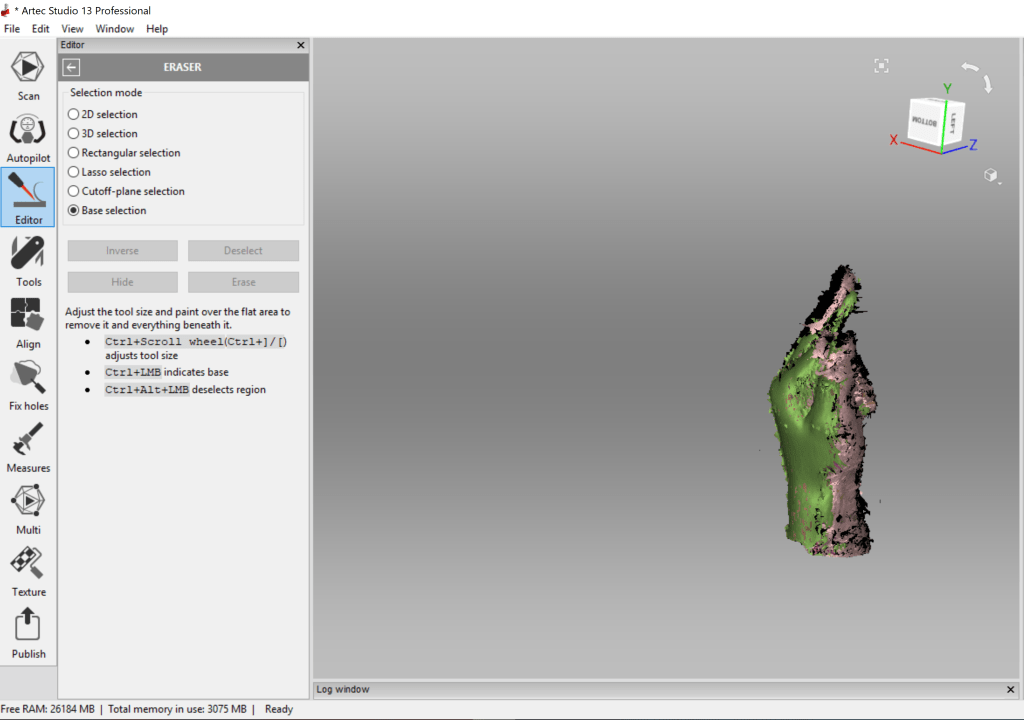
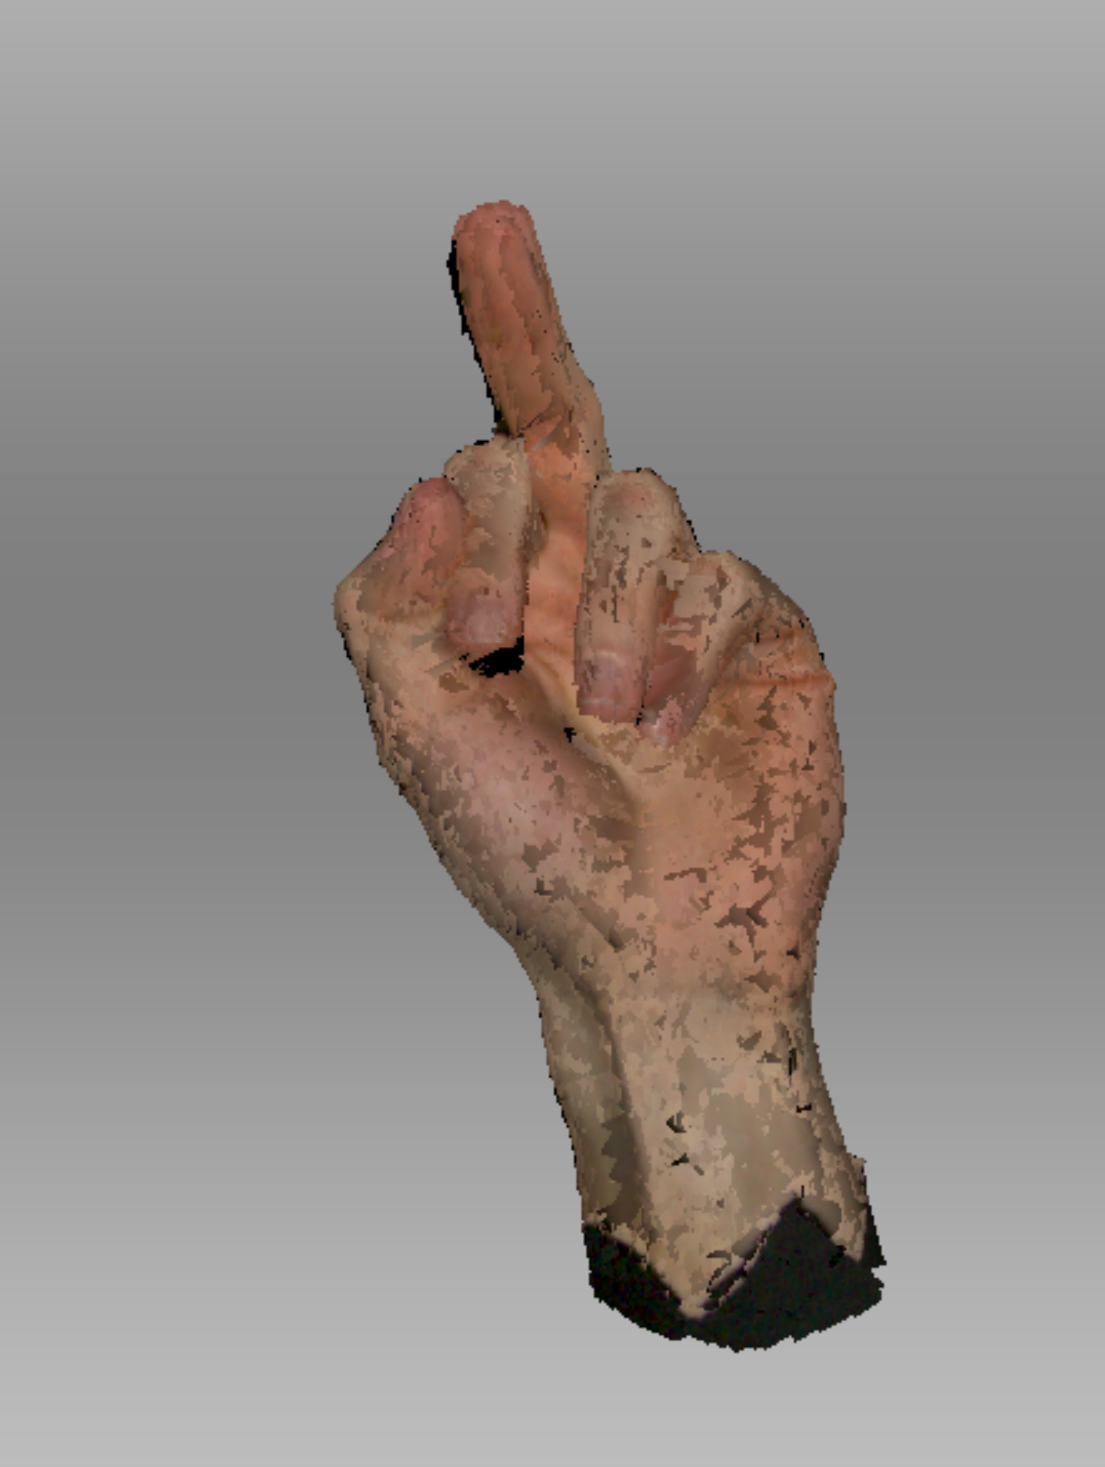
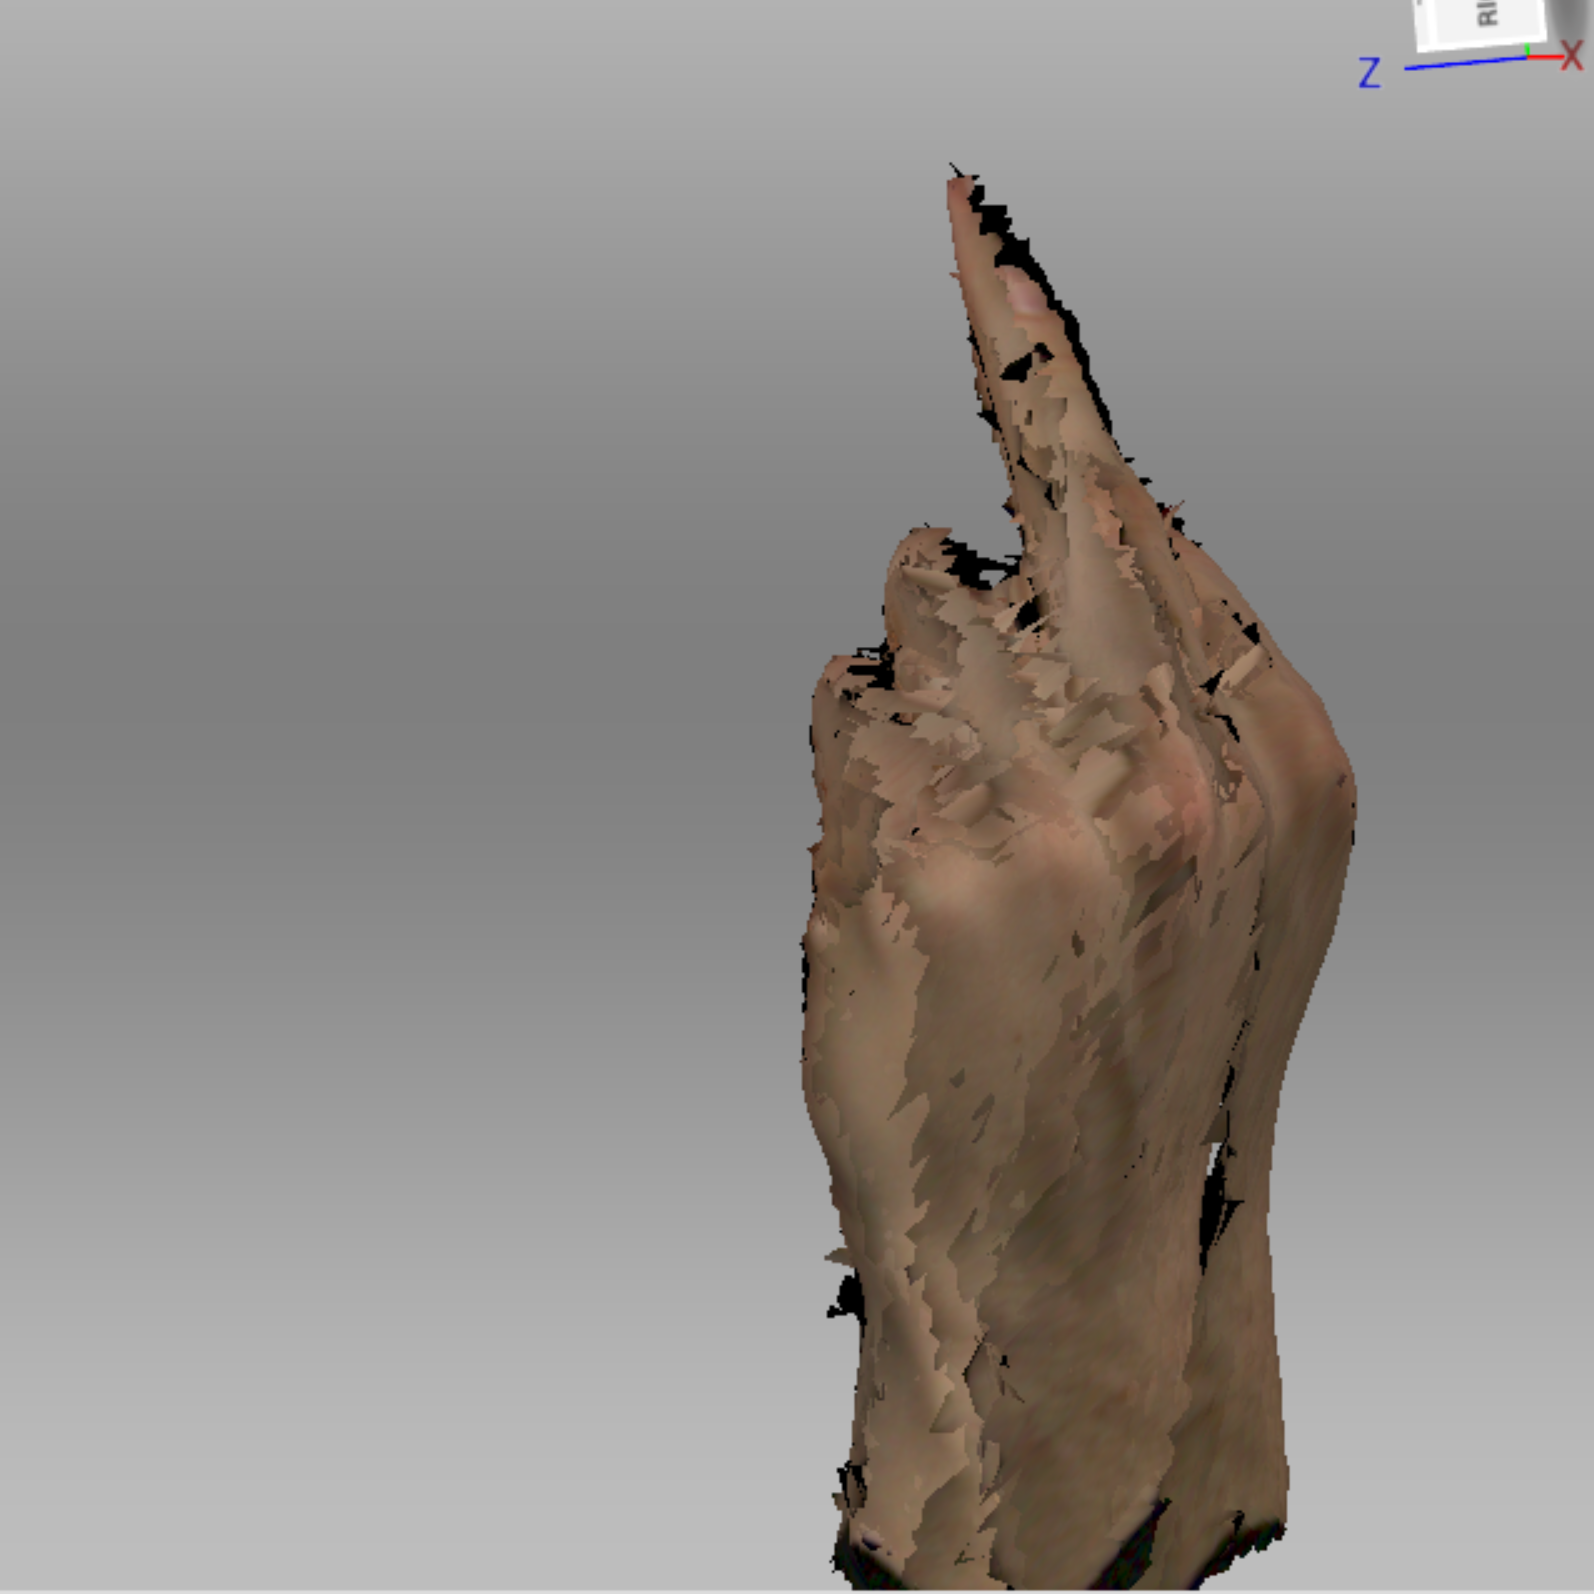
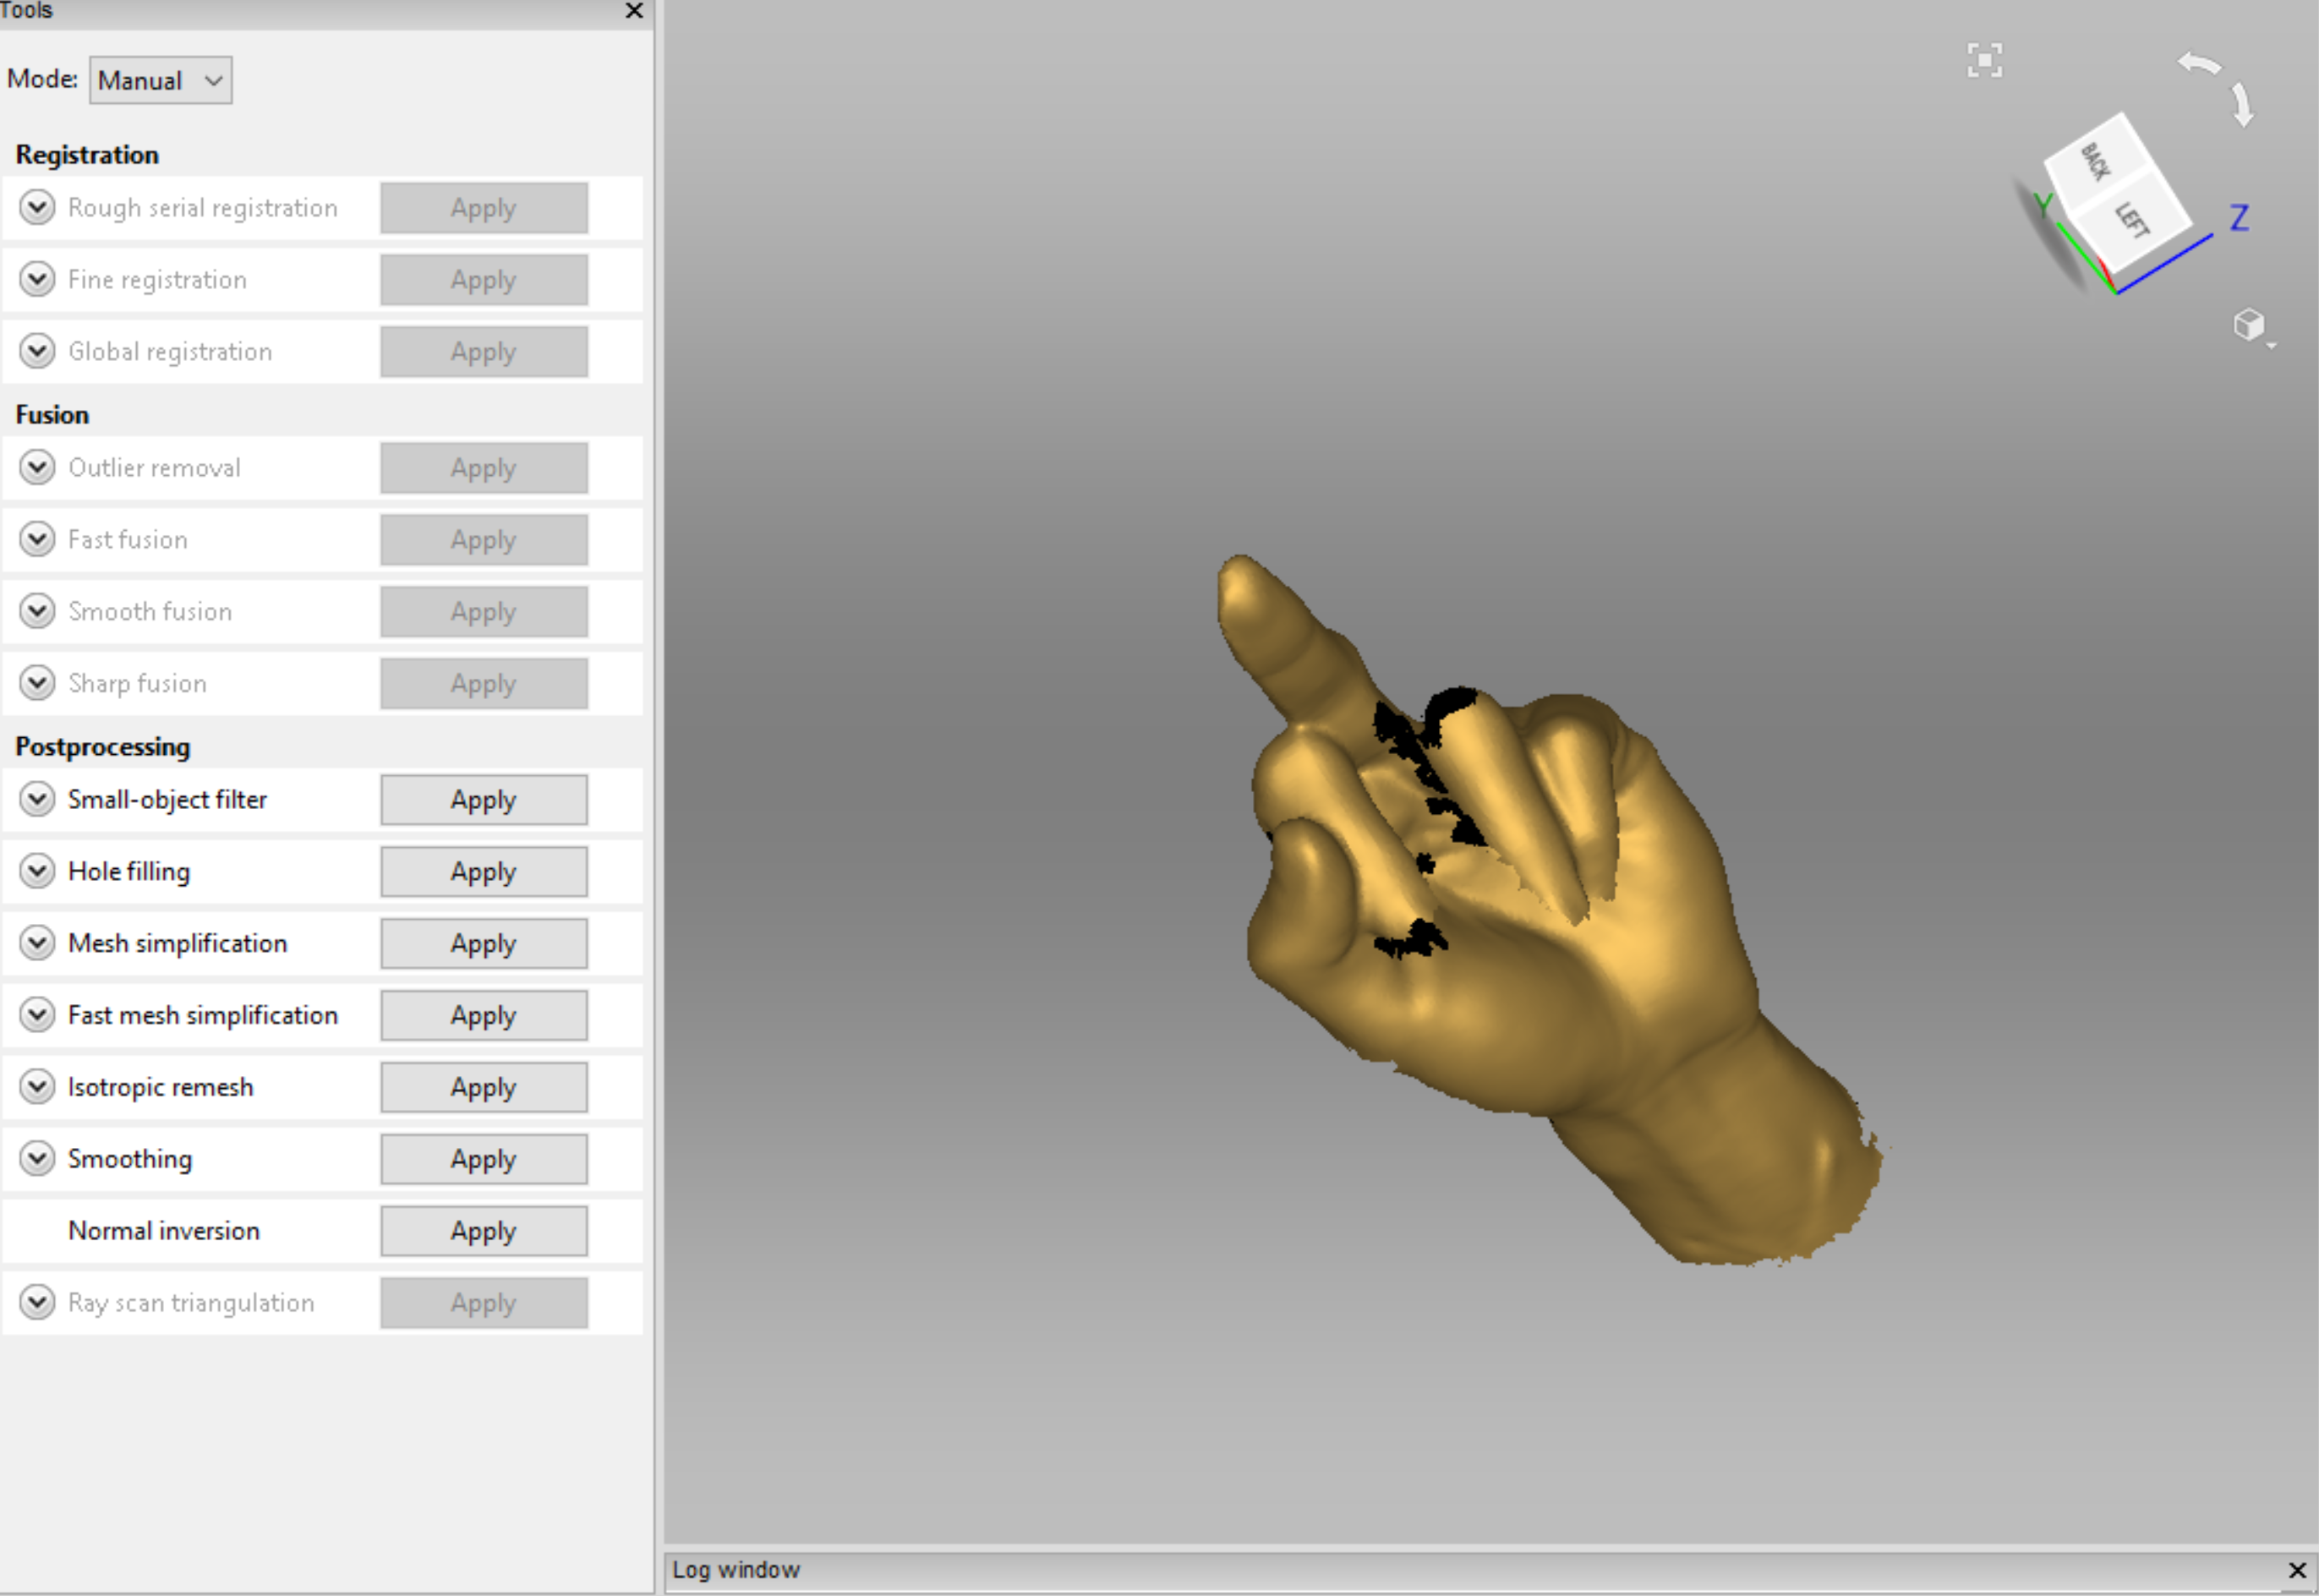
Looking at the nature of my data as well as my scan of Isaac’s hand I think this book is representation of anger and rebellion. These ideas have been expressed thought history in more radical and rash outputs (such as tagging, protest signage, video) than a planned & developed output that I need to make for this brief. However one example is the punk zines of the 70’s that were developed as a way to detach from publishers and labels and to genuine create a punk rock zine that was affordable for the people, made by the people. This production of Punk Zine embodied the punk ethos of anti-establishment, anti-consumerism and DIY.

British punk zines from the 1970’s – Wikipedia

These zines are a good example of what I want to achieve with my booklet as they maintain the political activism and anger within the punk scene but are also pieces of graphic design and text that can be spread and understood by the masses rather than simply seen as other outputs are.

provocative graphic design
I was in the library doing some other study for a studio paper and I came across this book about provocative graphic design, the perfect book to inform my design of the booklet!
These are some of the artists and graphic work that I thought I could act as precedents in how to think about this booklet and how each element can work together to generate a message to my audience.

Looking at these works I can see that the importance and symbolism of colour can play a big part in the way a graphic design is read. A classic colour for anger, passion and frustration, all the emotions I am trying to portray is red. Combining this with perhaps large bold black type could make the booklet loud and in tour face. However the small average font and aggressive text from the designers at Adams Morioka suggests a quite rage that can’t be underestimated, the rage of someone who is undeniably calm and perhaps tired of their situation, simply put, they are pissed-off. This is the type of anger that it looks like most of my data represents as we are struggling through an economy and climate that was destroyed before us yet we are the generations that have to deal with it and attempt to fix it.

data collection

week eight – thursday 19 september

I took a quick look at census data and the only measurements they have are about forearm length and hand span – nothing about middle fingers.
Although it wasn’t too hard to get data from people. I also asked each participant what (or who) they wanted to dedicate their middle finger to – I hope to include this in the booklet, to make each page unique not just in design with the measurements but also personalised.

Lauren – 9.6cm at animal abusers
Brontë – 8.6cm at Trump
Liam – 11.5cm at responsible sleep schedules
Harry – 11cm at chlorinated water
Caspian – 11cm at his own collarbone
Aidan – 11cm at climate change
Victoria – 9.5cm at Brexit

Becky – 9cm at her statistics paper
Tertia – 10.4cm at capitalism
Zeke – 11.4cm at grades
Keegan – 11.6cm at drunk drivers
Andrew – 11cm at deforestation
Senna – 11cm at fake friends
Ellie – societal expectations

Now I am still not sure how I am going to have this data influence the OBJ scan, I’m thinking I want it to have the measurement dictate the number of fingers on each page? and then create a random pattern of sorts. If I was to do that I would have to round up/down to whole numbers.

Based on this data I am now thinking about this booklet as an expression of anger and frustration within my generation, at the world around us, our economy and social climate as well as just personal stuff we have going on in our lives. Rather than just a booklet to be provocative and funny.

3d scanning

week eight – thursday 19 september

So I visited the FabLab to discuss with them what I wanted to do in terms of 3D scanning and they said that their 3D scanner scans an object sitting within a machine, this would not work for my plan to scan a hand.. They suggested that I talk to the people at the 3D Industrial Workshop about their 3D scanner.

This 3D scanner flashes lights at an object and generates a mesh file on the laptop as it goes. The object needs a base of sorts to ground the object. If the scan on the computer is green it is capturing, if it is red you are moving too much/too close for capture, if it is blue, you are too far away.
The scanner struggles to capture the underside of an object but it can work around a more unusual shapes than that of the FabLab scanner. I was also told that it struggles with shapes that are smaller than about 15cmX15cm.

This was the shape that I 3D scanned in my induction.

Once you are happy with the detail of the mesh scan you apply a range of tools to the file to refine it. You can also use the editor to remove sections of the scan, such as the base.
Then you can export the file as an OBJ or an STL.

I then used the rocket example processing file as a starting point in brining in OBJ files into processing as PShapes. This generated a whole lot of errors and didn’t work..
A previous load of an OBJ file I downloaded from online using the same format however did work (with some errors showing). I still have no idea why one worked and the other didn’t.

But because time is a pressing matter I needed a hand scanned soon. I needed a hand than my own, firstly so I could scan it and secondly because I was worried my hand was too small to be captured, I was already pushing it a bit with trying to scan something smaller than 15cmX15cm with such detail.

This is the initial scan of Isaac’s hand once I removed the base (my base was made of a piece of cardboard with a hole in the middle and a black sheet with a hole on top of that – Very high tech I know. Isaac had to pretty much lie on the floor so I could scan his hand.)

I then applied a bunch of tools & hole fixers to actually get it to look like a hand. I also saved a bunch in between each of these edits as I still didn’t know why the other practice scan I did wouldn’t load in Processing and wanted to have every version available if I needed it.

The order of the edits in this slideshow is;
Outlier Remover, Global Registration, Smooth Fusion, Hole Filler (selection), Hole Filler (completed).

I was actually so surprised that it worked, here are some videos I took during the refining process.

Then to make sure that my model had the best chance of actually working in processing I refined it through the MeshLab program.

initial output + workflow concept

week eight – thursday 18 september

  1. 3D scan of hand (.obj file)
  2. Bring into Processing (using SAITO OBJLoader possibly?)
  3. Get data set of finger measurements (either from census or people irl – tbd)
  4. Use data as an array & ‘for’ loop to generate pattern with hand.obj in Processing
  5. Compile into a booklet of personalised hand patterns to print

tasks for step one
FabLab Inductions to complete
– About Fab Tour (10am Wednesday 25th)
– 3D Scanning (tbc – not enough applicants)

tasks for step two
Possible videos/sites to watch/read about bringing .obj files into processing and manipulating them:
https://www.youtube.com/watch?v=6VSaneuiaWs
https://processing.org/reference/loadShape_.html

tasks for step four
videos that go over using 3D objects in processing, perhaps could use a combination of what I learn from these to create this pattern that can be dictated by the finger measurements.
https://youtu.be/7BoJBYh16CQ
https://www.youtube.com/watch?v=YcbcfkLzgvs&list=PLRqwX-V7Uu6bb7z2IJaTlzwzIg_5yvL4i
https://www.youtube.com/watch?v=EC5R8NtBo5A
https://www.youtube.com/watch?v=Y6EJYjQjVVs
https://www.youtube.com/watch?v=4KKTECjP7TY

tasks for step five
ask about where to go & how to print booklet. (perhaps during FabLab induction talk to people there?)

data inputs

week eight – thursday 19 september

lecture notes:
processing – Function()’s do things, Variables store & classify information. There are a range of different types of variables, we need to tell Processing what type of variable we are dealing with so that it knows what to do with it.

Some new variable data types to make note of are,

String – multiple characters, for example, names.

boolean – are true/false variables that can act as on/off switches, for example you would use this when you wanted specific to happen when a mouse is pressed.

array – a list of data, for example you could have an intArray, stringArray, hexArray etc.

int – Numbers, for example birthdays. these are whole or negative numbers. By defining a number as an integer processing can understand what to do with it, such as multiply, use as coordinates, divide etc..

float – Numbers that are fractions or decimals, these can also be whole numbers.

‘for’ loops
These loops allow for multiple varied functions to be carried out in a few lines of code rather than many.

for(int k = 0; k<3; k++){ function }

‘for’ is kind of like a function
‘int k = 0’ is the init, it defines the initial k value as 0.
‘k<3’ is the test, the number is the number of times the code runs, if the test is false (eg: k is more than 3) the forloop stops running.
“k++’ is the update, this describes what we want to happen each time the loop runs. ++ means add one each time, this can also be written as k = k+3, in this form the number can be substituted for whatever is needed in the context.

The variable that is defined (k in this case) can only be used within the curly brackets of the for loop.

for’ loop pair tasks:

Design a site like this with WordPress.com
Get started