unity outputs

week four – thursday 8th august

task one: independent study
After the lecture on unity and having a short demo with some pre-built scenes in unity we were tasked with either modifying these scenes or creating our own from scratch to generate three different outputs.

flaming sphere
This output was a modification of a preexisting one, in which a coloured sphere (with a trail) emitted a popping sound and slowly rotated on its x axis, the tightness in which the ball rotated speed up the closer the player got to it.
I modified this scene by changing the material and size of both the sphere and the trail, selecting a ‘fireball’ material instead. I also replaced the popping audio with a scream mp3. I tried to find a longer scream so it was less broken, more intense, but could not. I also changed the axis and speed in which the sphere spun so that it could spin and make its way closer to the ground.
I modified the terrain and created a deserted rocky landscape that the fireball would move through. I tested out different materials for the terrain also, as I found the grey not very atmospheric. I was looking for a deep black in which the player could be disoriented, the only light source being the fireball. I choose a reflective coloured glass option that gave off a sense of a futuristic or ‘other’ world, however similarly with some of the glossier materials I experimented with, the glow of the sphere is somewhat lost.

if I were you I would turn your sound down a few notches before watching this

forest environment
I generated this output from the ‘Basics’ pack, which starts with a FPSCamera and directional lighting. From here I played around with what I could do within the terrain panel and what sort of scenes I could make. I figured out to use the paint trees option I had to go and find the tree game object for the painter to apply. From here I played with density, height and size of brush. Initially I hade set out to make a swamp like environment as I couldn’t figure out how to add leaves to the trees, they were simply dead-looking trees.
Once I workout how to add leaves to the game object I played around with size and generated colour. Going back to the spread of the trees I realised they were far too close together now with the addition of leaves that the players experience would be effected. I re-painted the trees more widely dispersed and then elevated parts of the terrain to create a hilly forest landscape. I also added features such as birds in audio and grass/dirt walking audio to the player, as well as increasing their ability to climb up inclines.

However, when I went to play the scene a bunch of errors came up, and even when I tried to clear them as I did in the lecture, it still wouldn’t let me play.

Cityscape
I found it easier in this program to generate landscape scenes in which a player could walk through, rather than manipulating objects. If I were to further my skills with Unity perhaps I could add a manipulated game object to interact with these scenes.
In this output I focused on materiality and lighting to create atmosphere. I used simple cubes and duplication to create these few buildings, creating the windows using a glossy clear material that could reflect the yellow lighting. The buildings were initially a glossy black, however when I went to play with e lighting more, it became too bright, so that material was changed to a more dull rusty brown. The footpath was made glossier than a cement footpath would be normally as I thought it created a nice atmosphere where the streetlights reflect off of it, appearing perhaps as if it has just rained. Maybe in my developments I could make it rain in this scene..
I also intended on duplicating and creating more buildings to create a proper city scape.

One aspect of this output that I am proud of the way it turned out was the variation in hues and spread that were manipulated in the directional light (moon) and the point light (street lamps).

three.js outputs

week three – thursday 1st august

task one: independent study
After playing around with three.js and learning the basics of what we could make and how to modify lighting, environment and how to include snippets we were tasked with creating three outputs of our own for independent study.

stars
This output initially started with a yellow octahedron with a deep navy black background to mimic the night sky. Using the snippet called ‘particle’ the octahedron was multiplied and distributed along the canvas randomly using ‘vertex.x = 1000 * Math.random() – 500; ‘ where ‘x’ was replaced with z and y to randomise all axis for all mesh. Then the positions are modified to be set on a rotation of 0.0005 as well as the camera position slowly rotating to create a sense of atmosphere.

dragon knots
This output began with a knot design from the three.js drop-down menu. The materiality for this design was set to normal but on the back side. The background colour (red) was selected to contrast with the colours within the knot. This colour palette reminded me of the common colours that dragons are depicted as, so this output was named ‘dragon knots’.
Similar again to the stars output, the snippet used duplicated the knots 200 times over, using ‘mesh.position.y = Math.random() * 3200 – 3200;’ to randomise the z,x and y axis for each mesh. In addition to this the camera position was used from the swing snippet and changes the x and the y axis of the camera to swing the camera angle out and back into the centre of the knot outputs.

purple circle
This output is a simple purple ring with Lambert shading in a standard purple colour. I used different intensity and colours for lighting to enhance the rendering of this ring.
I applied the ‘leave trails’ snippet and limited the horizontal (x) axis to the centre of the window so that the rotation and trail of the ring remained within the diameter of the ring. The low opacity of the ring combined with these modifications means that it appears as if this ring is creating a sphere as it loops over & within itself.

processing outputs

week two – thursday 25th of july

task two: – independent study
Independent study this week was to continue on from the basic skills we had learnt in the studio and create three different processing outputs.

blue & purple ellipses
This output is generated by drawing two ellipses that have contrasting stroke colours and no fill. This enables you to see the density and values of the ellipses as the intersect. The interaction and movement of these two ellipses is controlled by your mouse movement on both the X and the Y axis.
During the generation of this design I struggled to see why it was only producing what looked to be one light blue ellipse, when in reality it was both – just layered exactly onto of one another. I solved this by swapping the X and the Y axis controls for one of the ellipses to the opposite of the other.

‘The False Mirror’ 1928 Magritte

the false mirror
This output was inspired by the famous surrealist painting ‘The False Mirror’ by René Magritte. This output took a long time to generate and figure out how to make it seem like they eye could open and close with your mouse, eventually I worked out that a heavy stroke weight and colour and a low opacity for the ‘eyeball’ with the ‘eyelid’ sitting behind this created an appropriate effect. These two elements are controlled along the Y axis using the scroll of the mouse. The clouds are generated with a series of small white ellipses that sit in front of the iris but behind the pupil.

orange ellipse arrow
This output is generated using a series of ellipses that overlap. With an opacity of 10% for each ellipse the overlap creates a smoother gradient of the warm tones.
The arrow form is created by limiting the frameCount% at which each ellipse runs to, increasing at each ellipse by 50 until the centre/halfway ellipse, then decreasing by an equal amount.
Initially I struggled to remember the term that would allow the ellipses to move across the whole page, using frameRate, which only enabled the ellipse to move 200 pixels, rather than across the whole page.

conditional design

week one – thursday 18th of july

task one: ‘hatching’
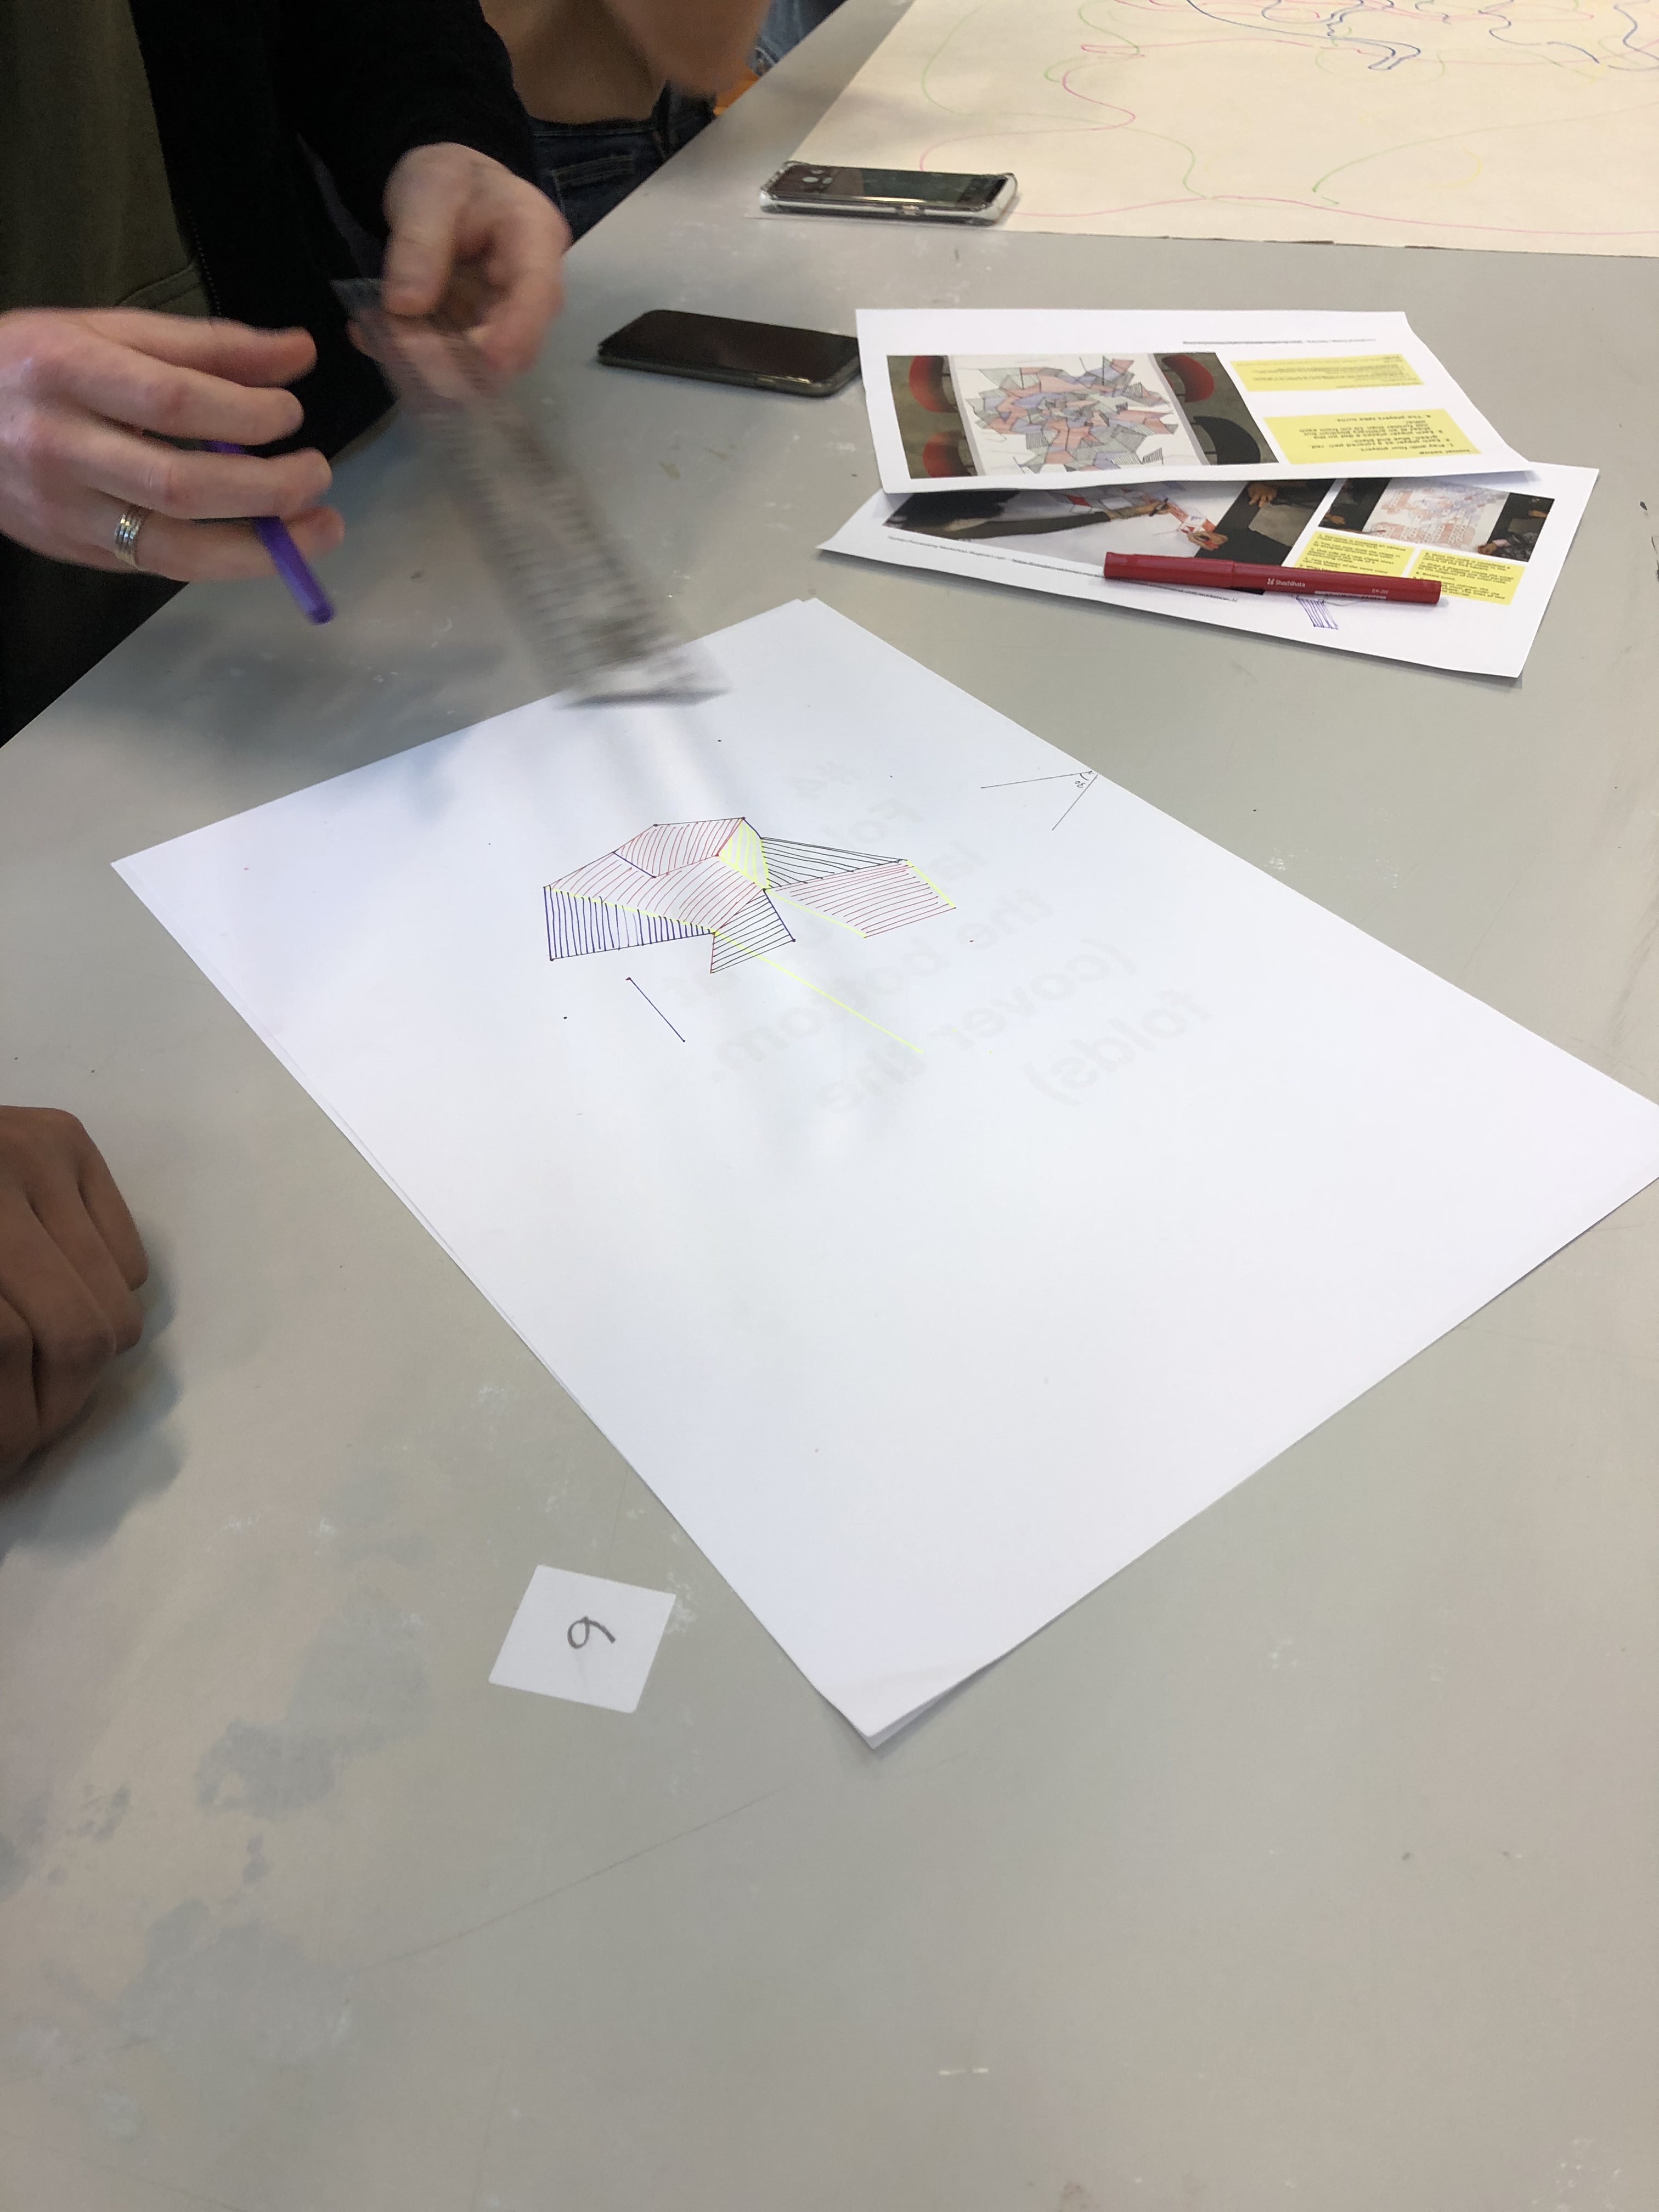
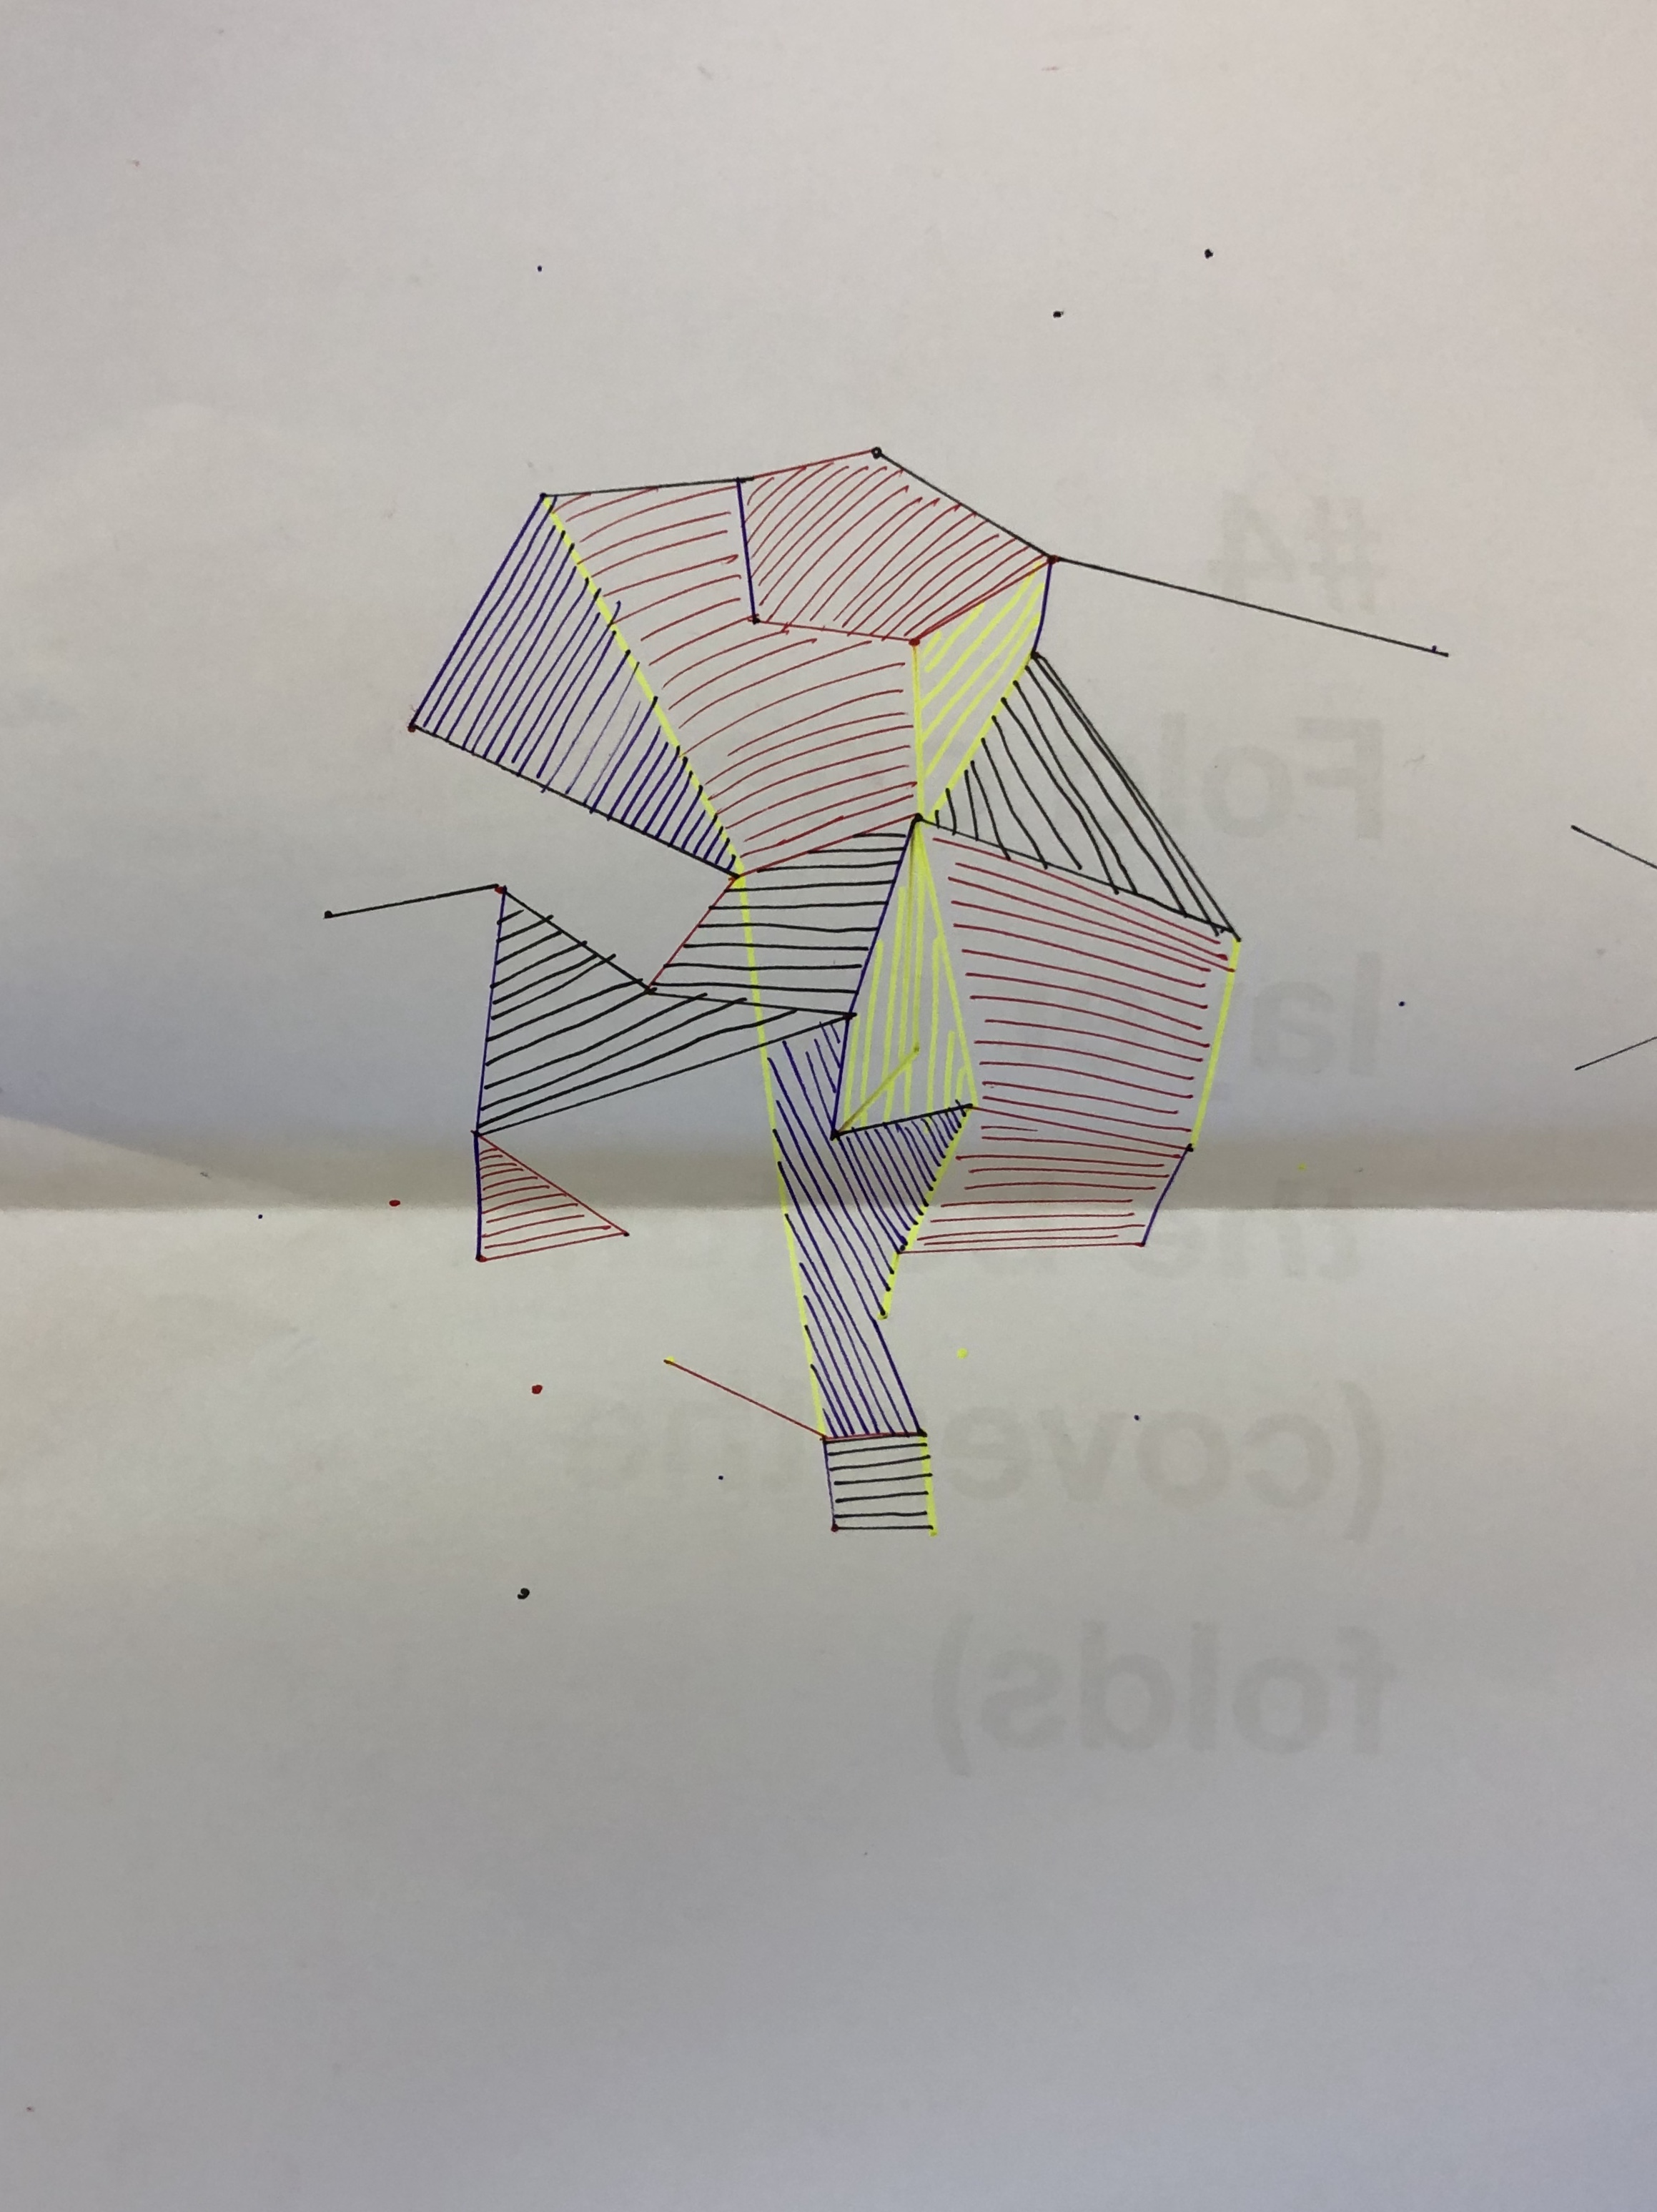
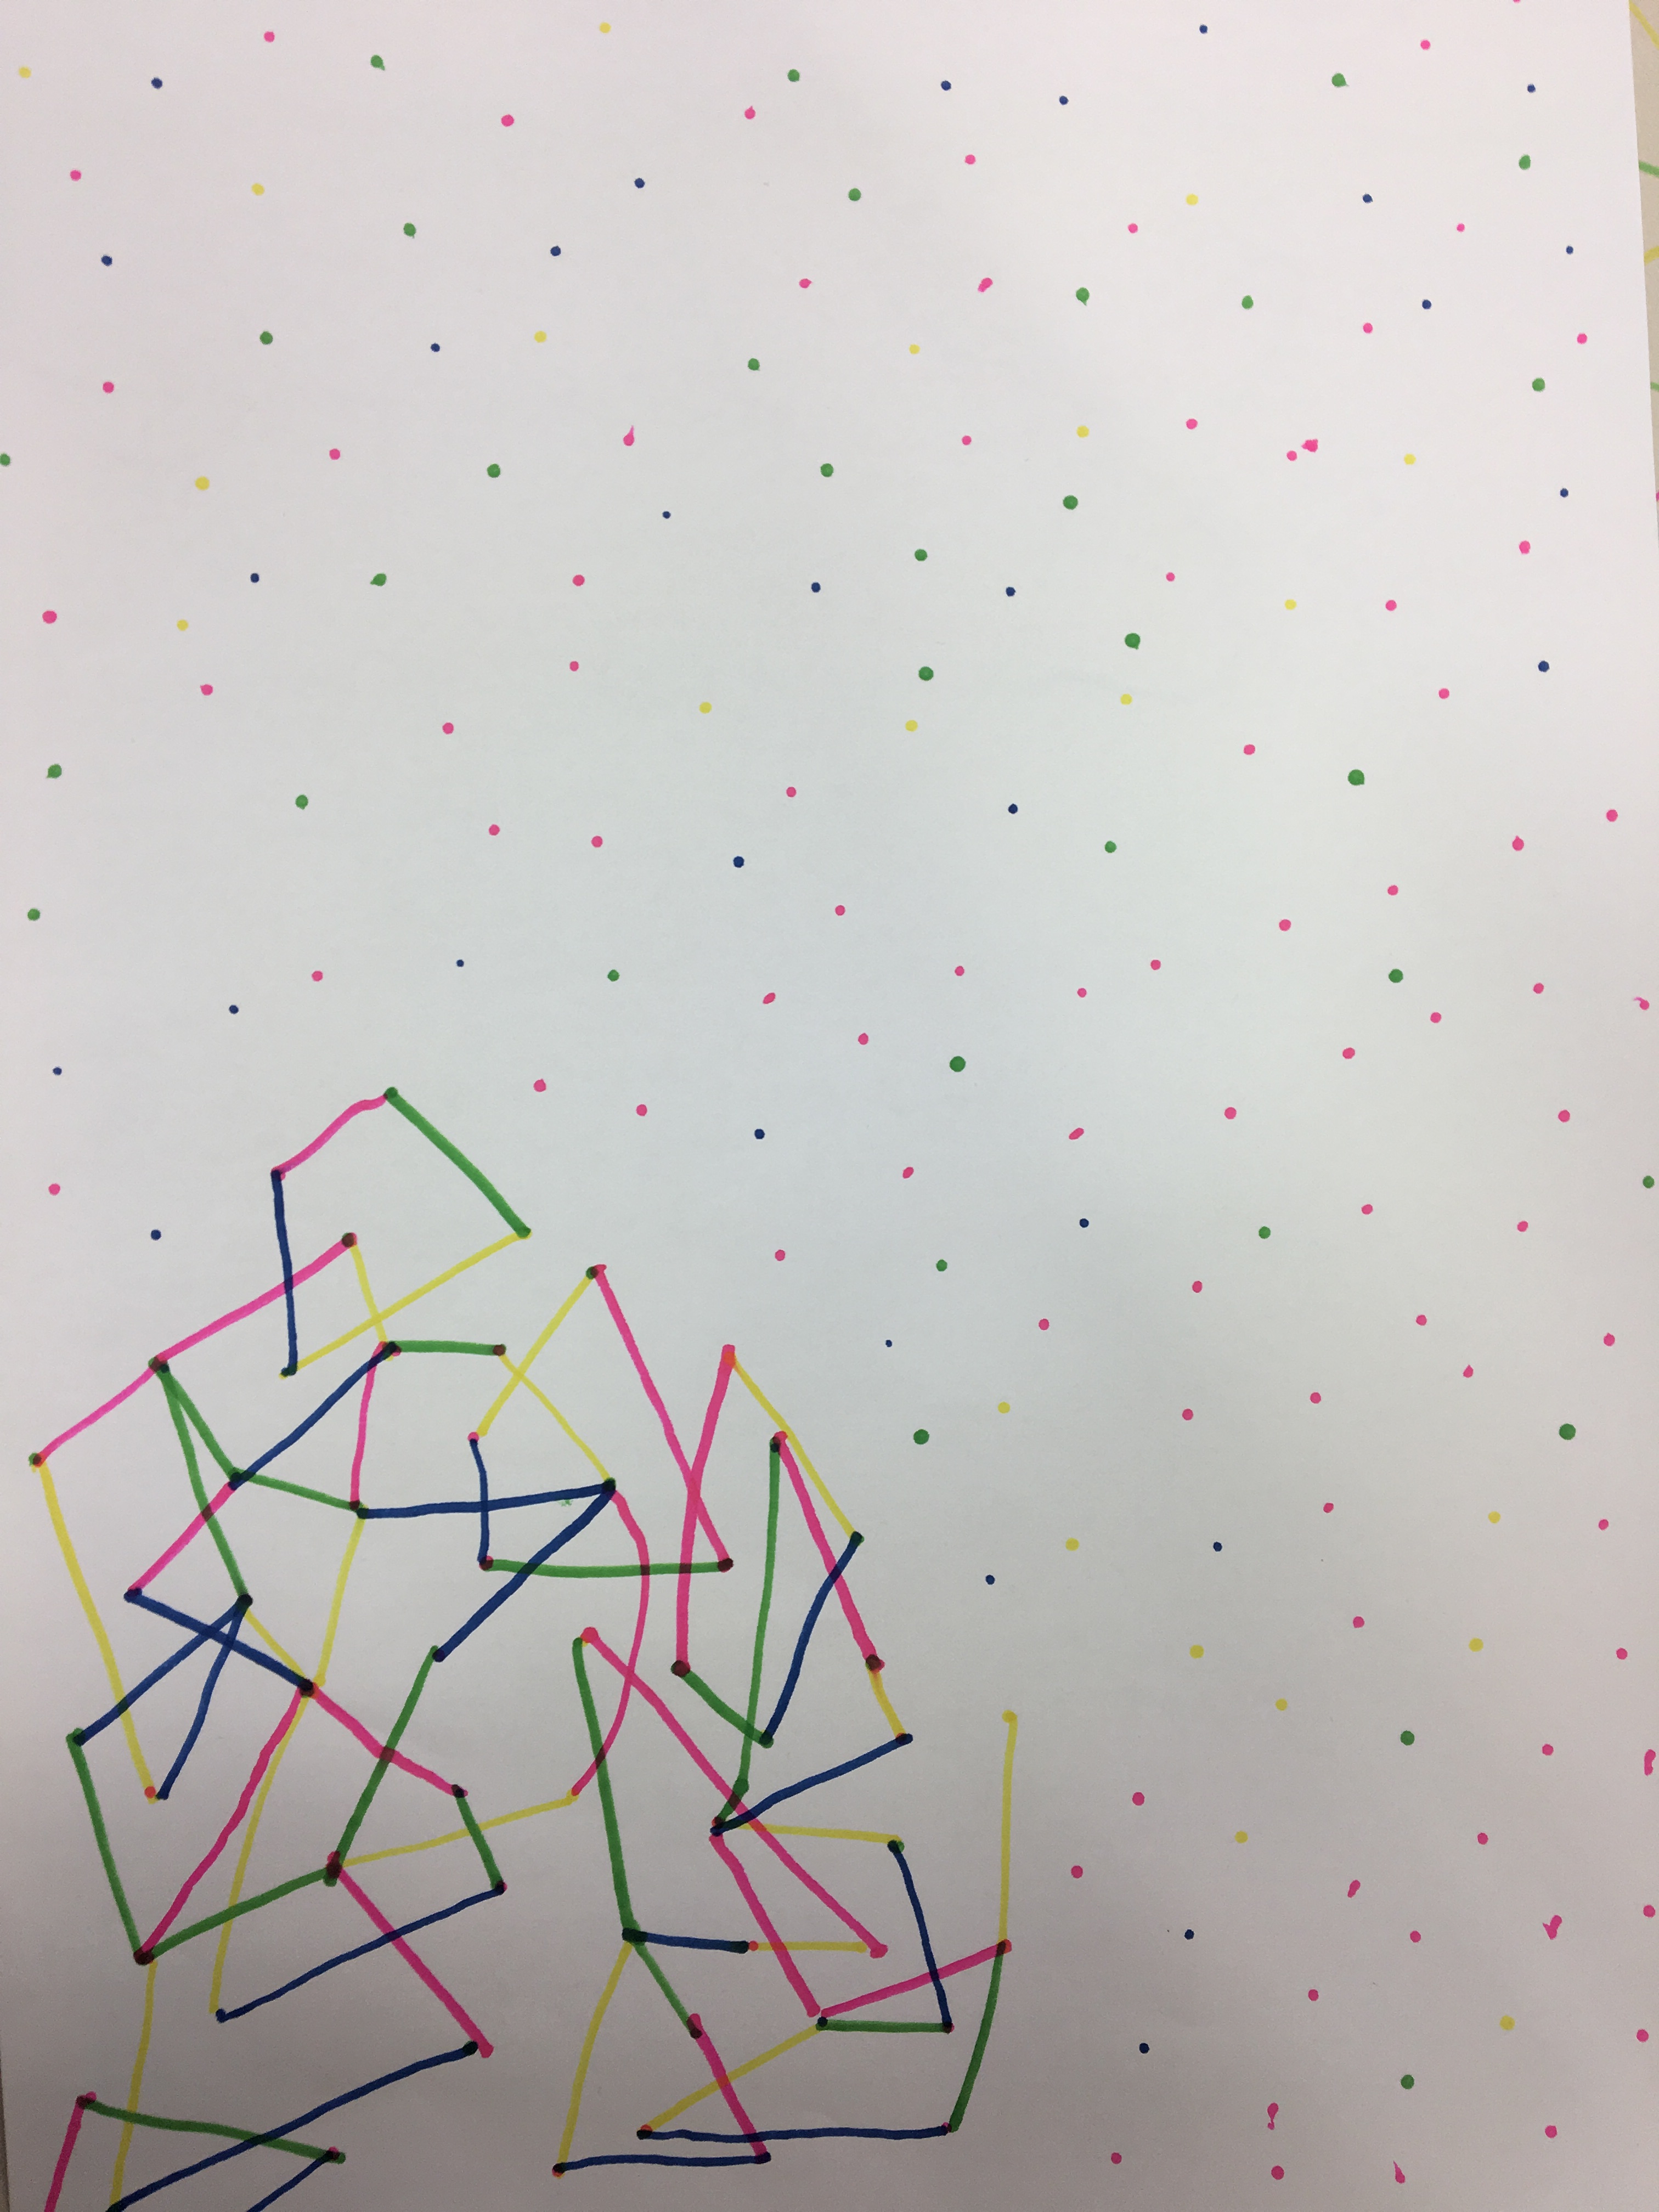
In a group of four we were given a set of rules to follow and create a design output. Each ‘player’ or team member had an assigned colour. The rules explained that on each players turn you would have to draw a dot no more than 10cm away from any other preexisting dot and then draw the smallest possible line between two dots within a designated angle of opportunity. Once a closed shape was formed the ‘closer’ had to fill in the shape with directional hatching to that of the closing line.

task two: ‘dot trapper 2000’
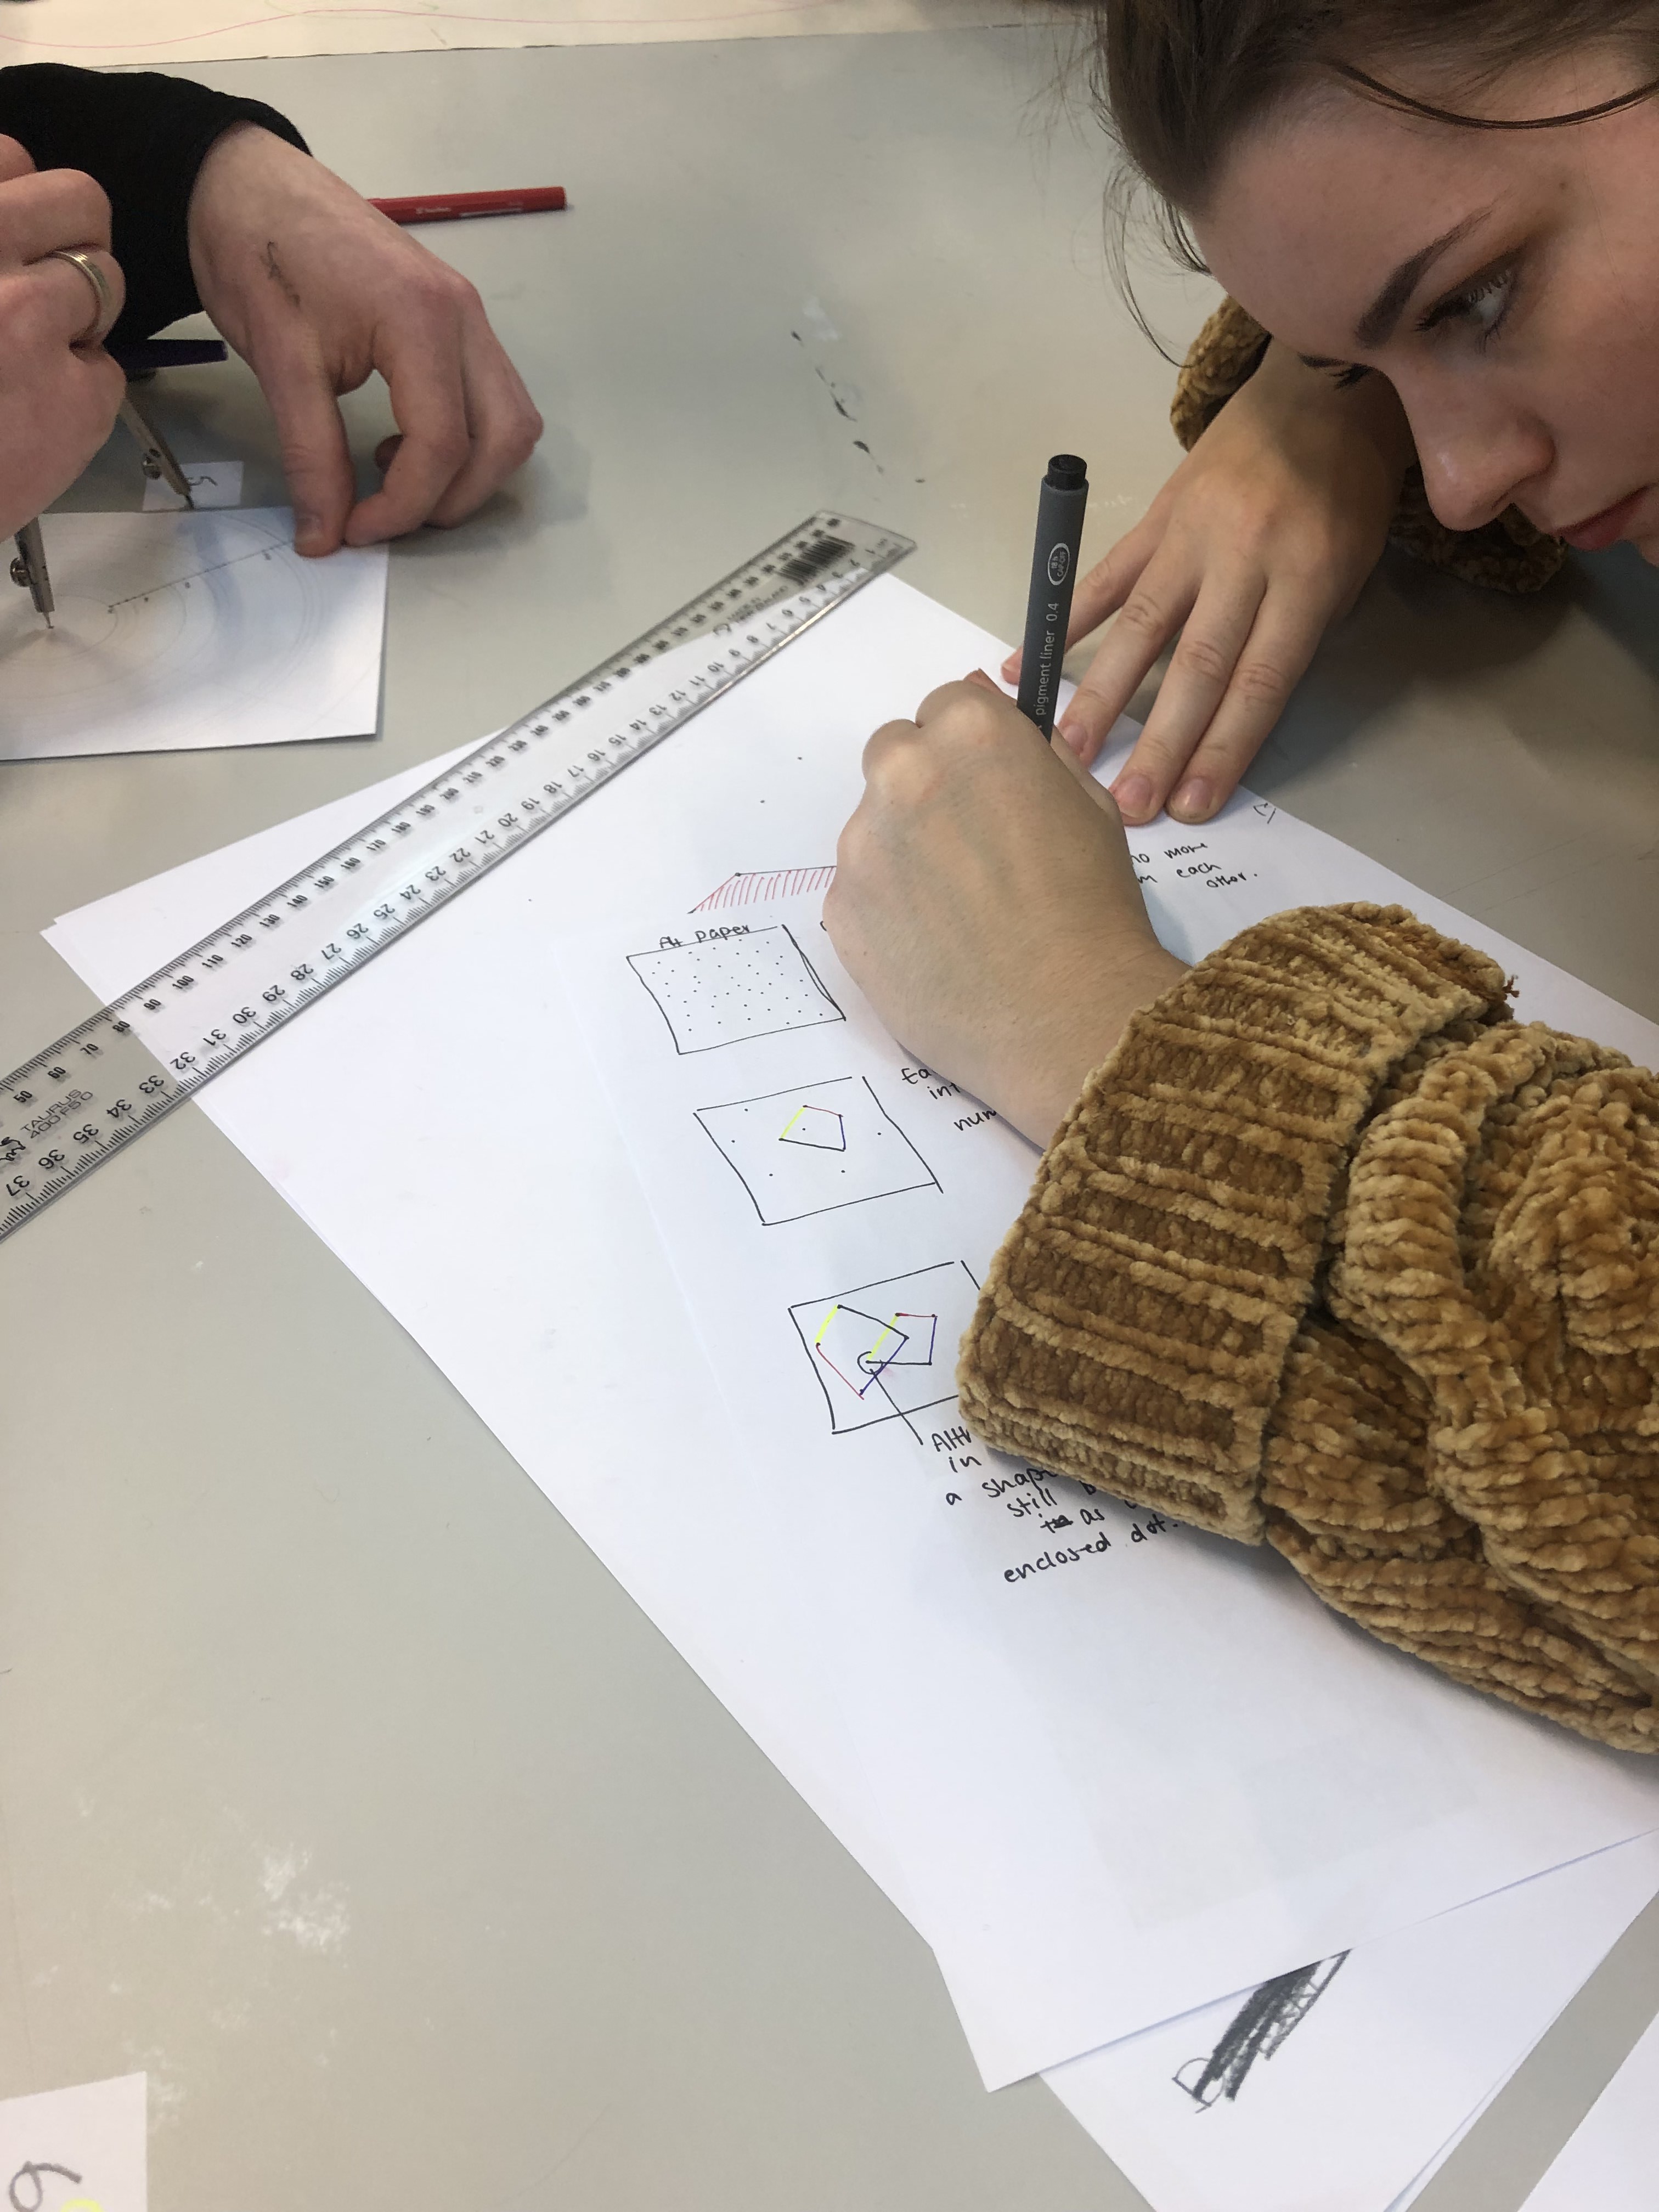
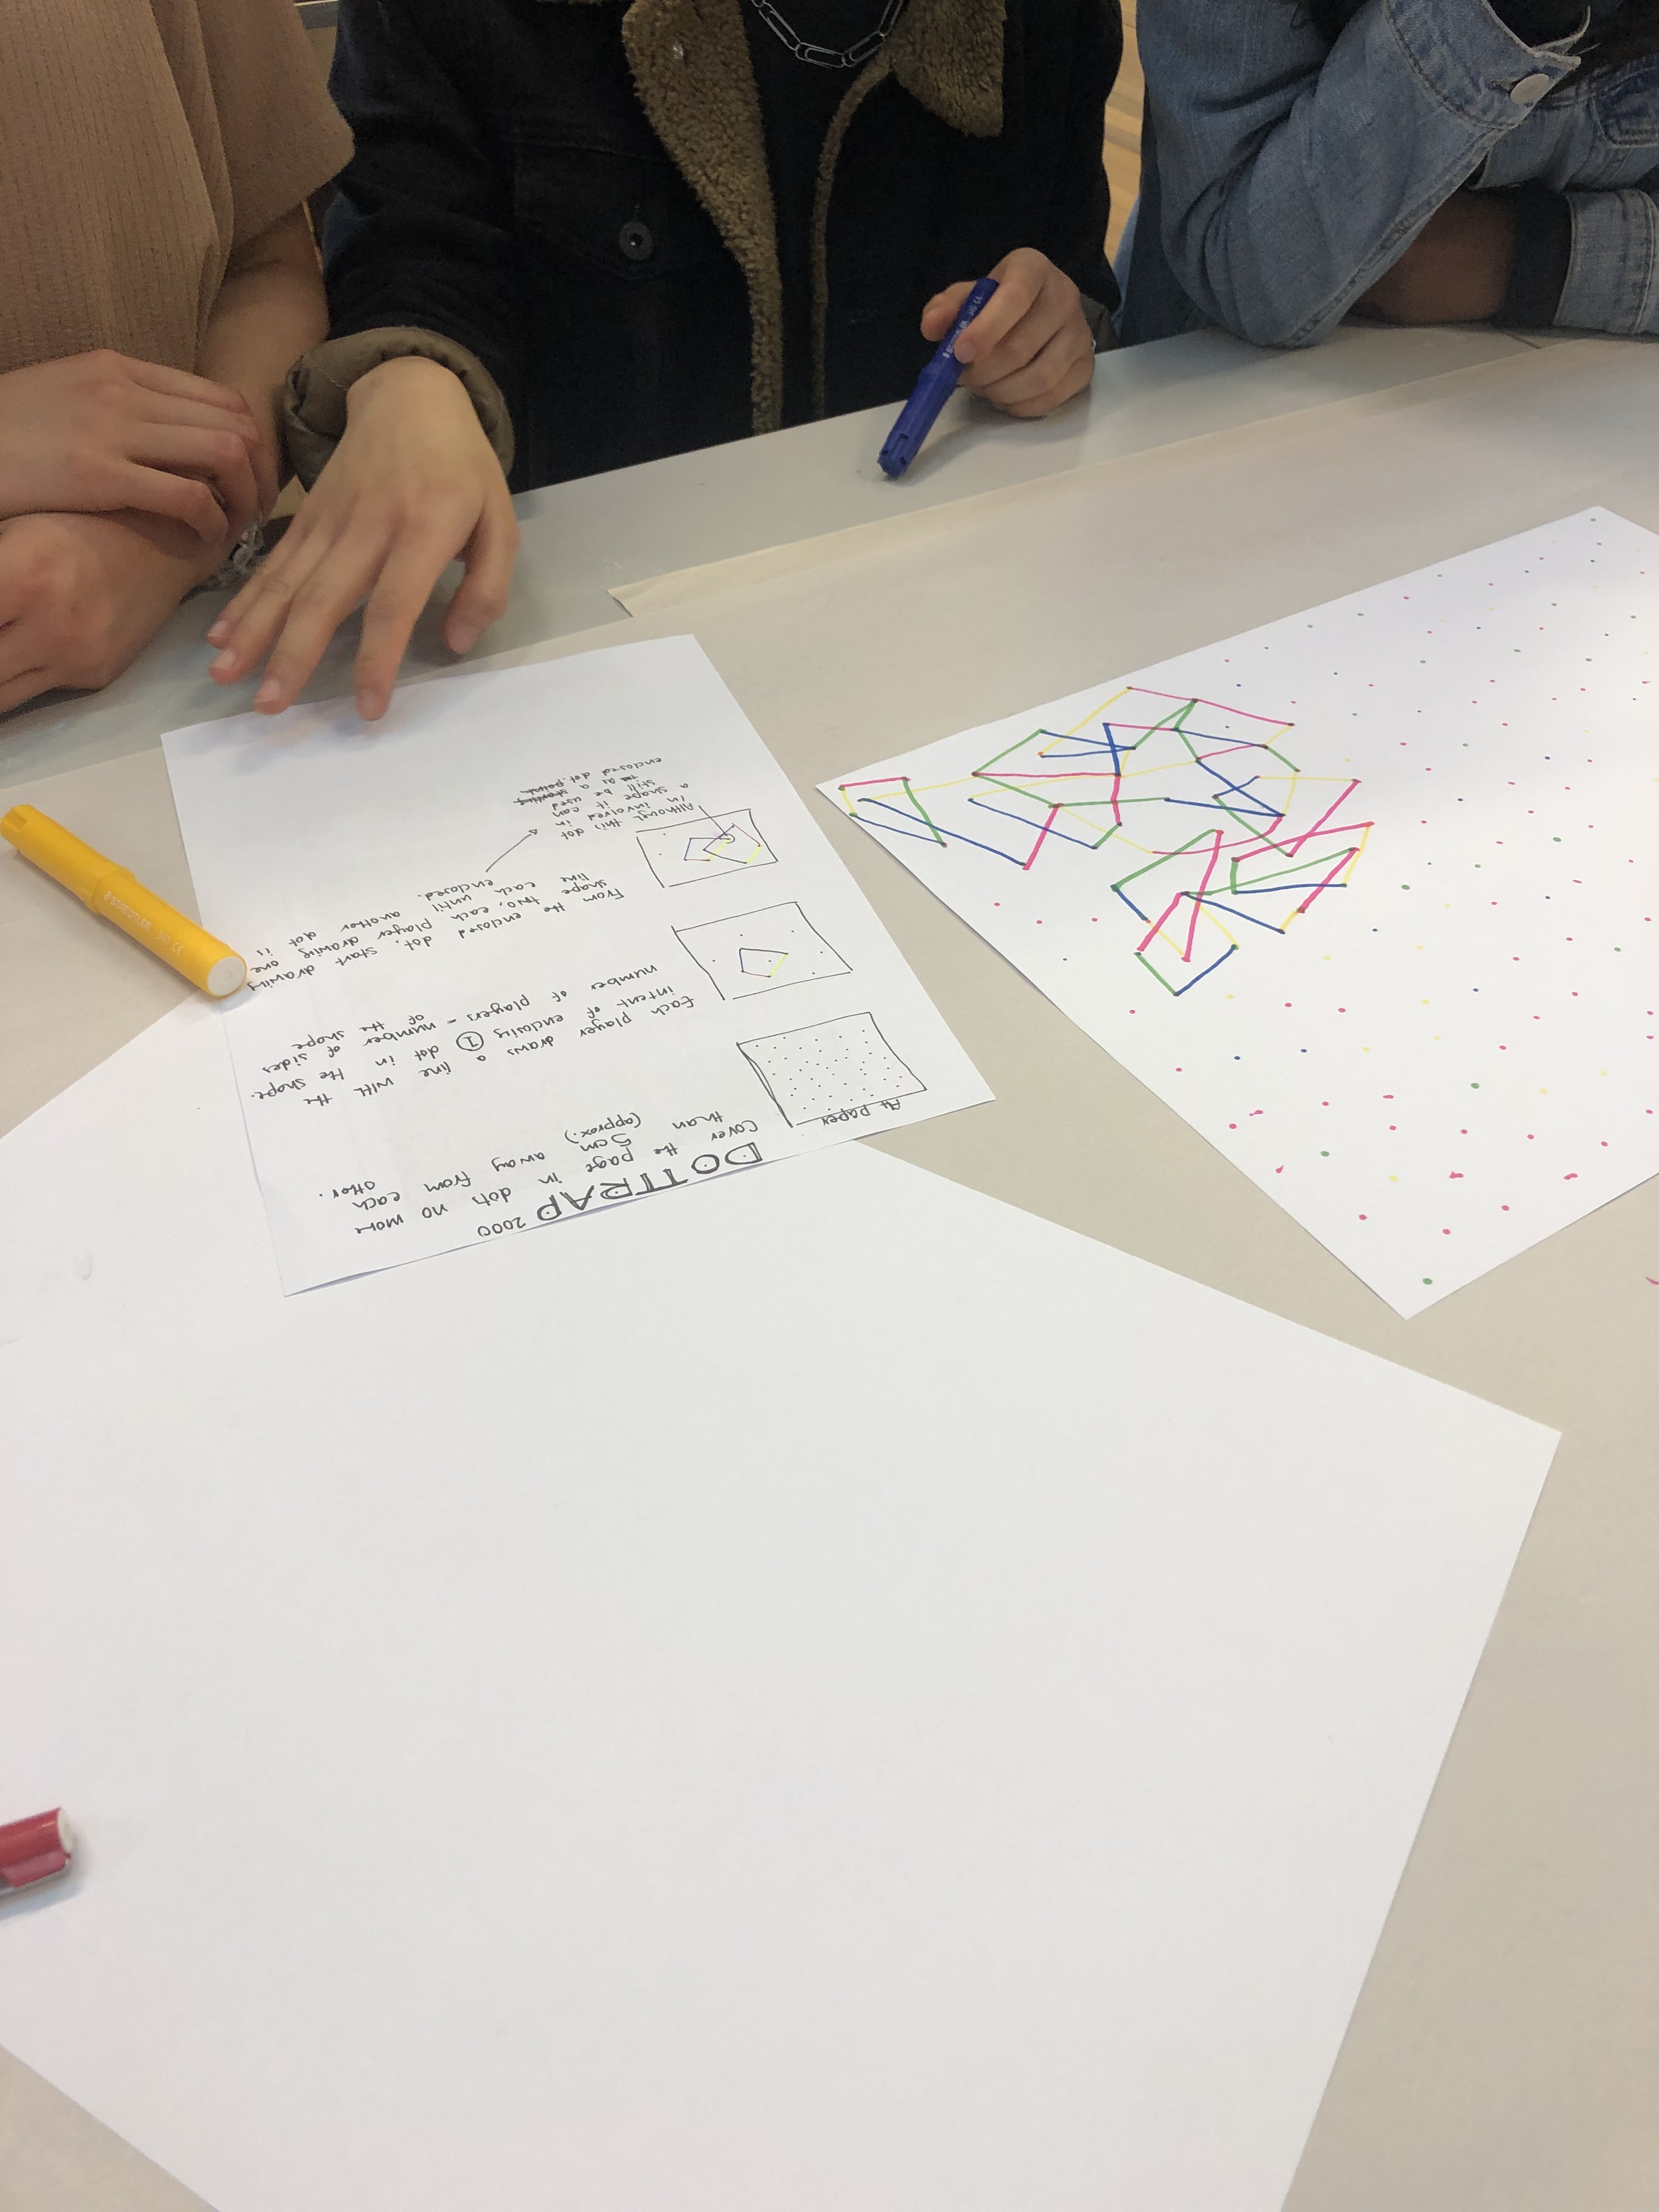
In our group we were now tasked with creating our own set of rules so that another group could create a desired design outcome. This task was interesting as we were able to see how the clarity of our rules impacted the outcome. We observed from the first task that having images to give us some indication of the final product helped in understanding the rules we had to follow.

task three: independent study
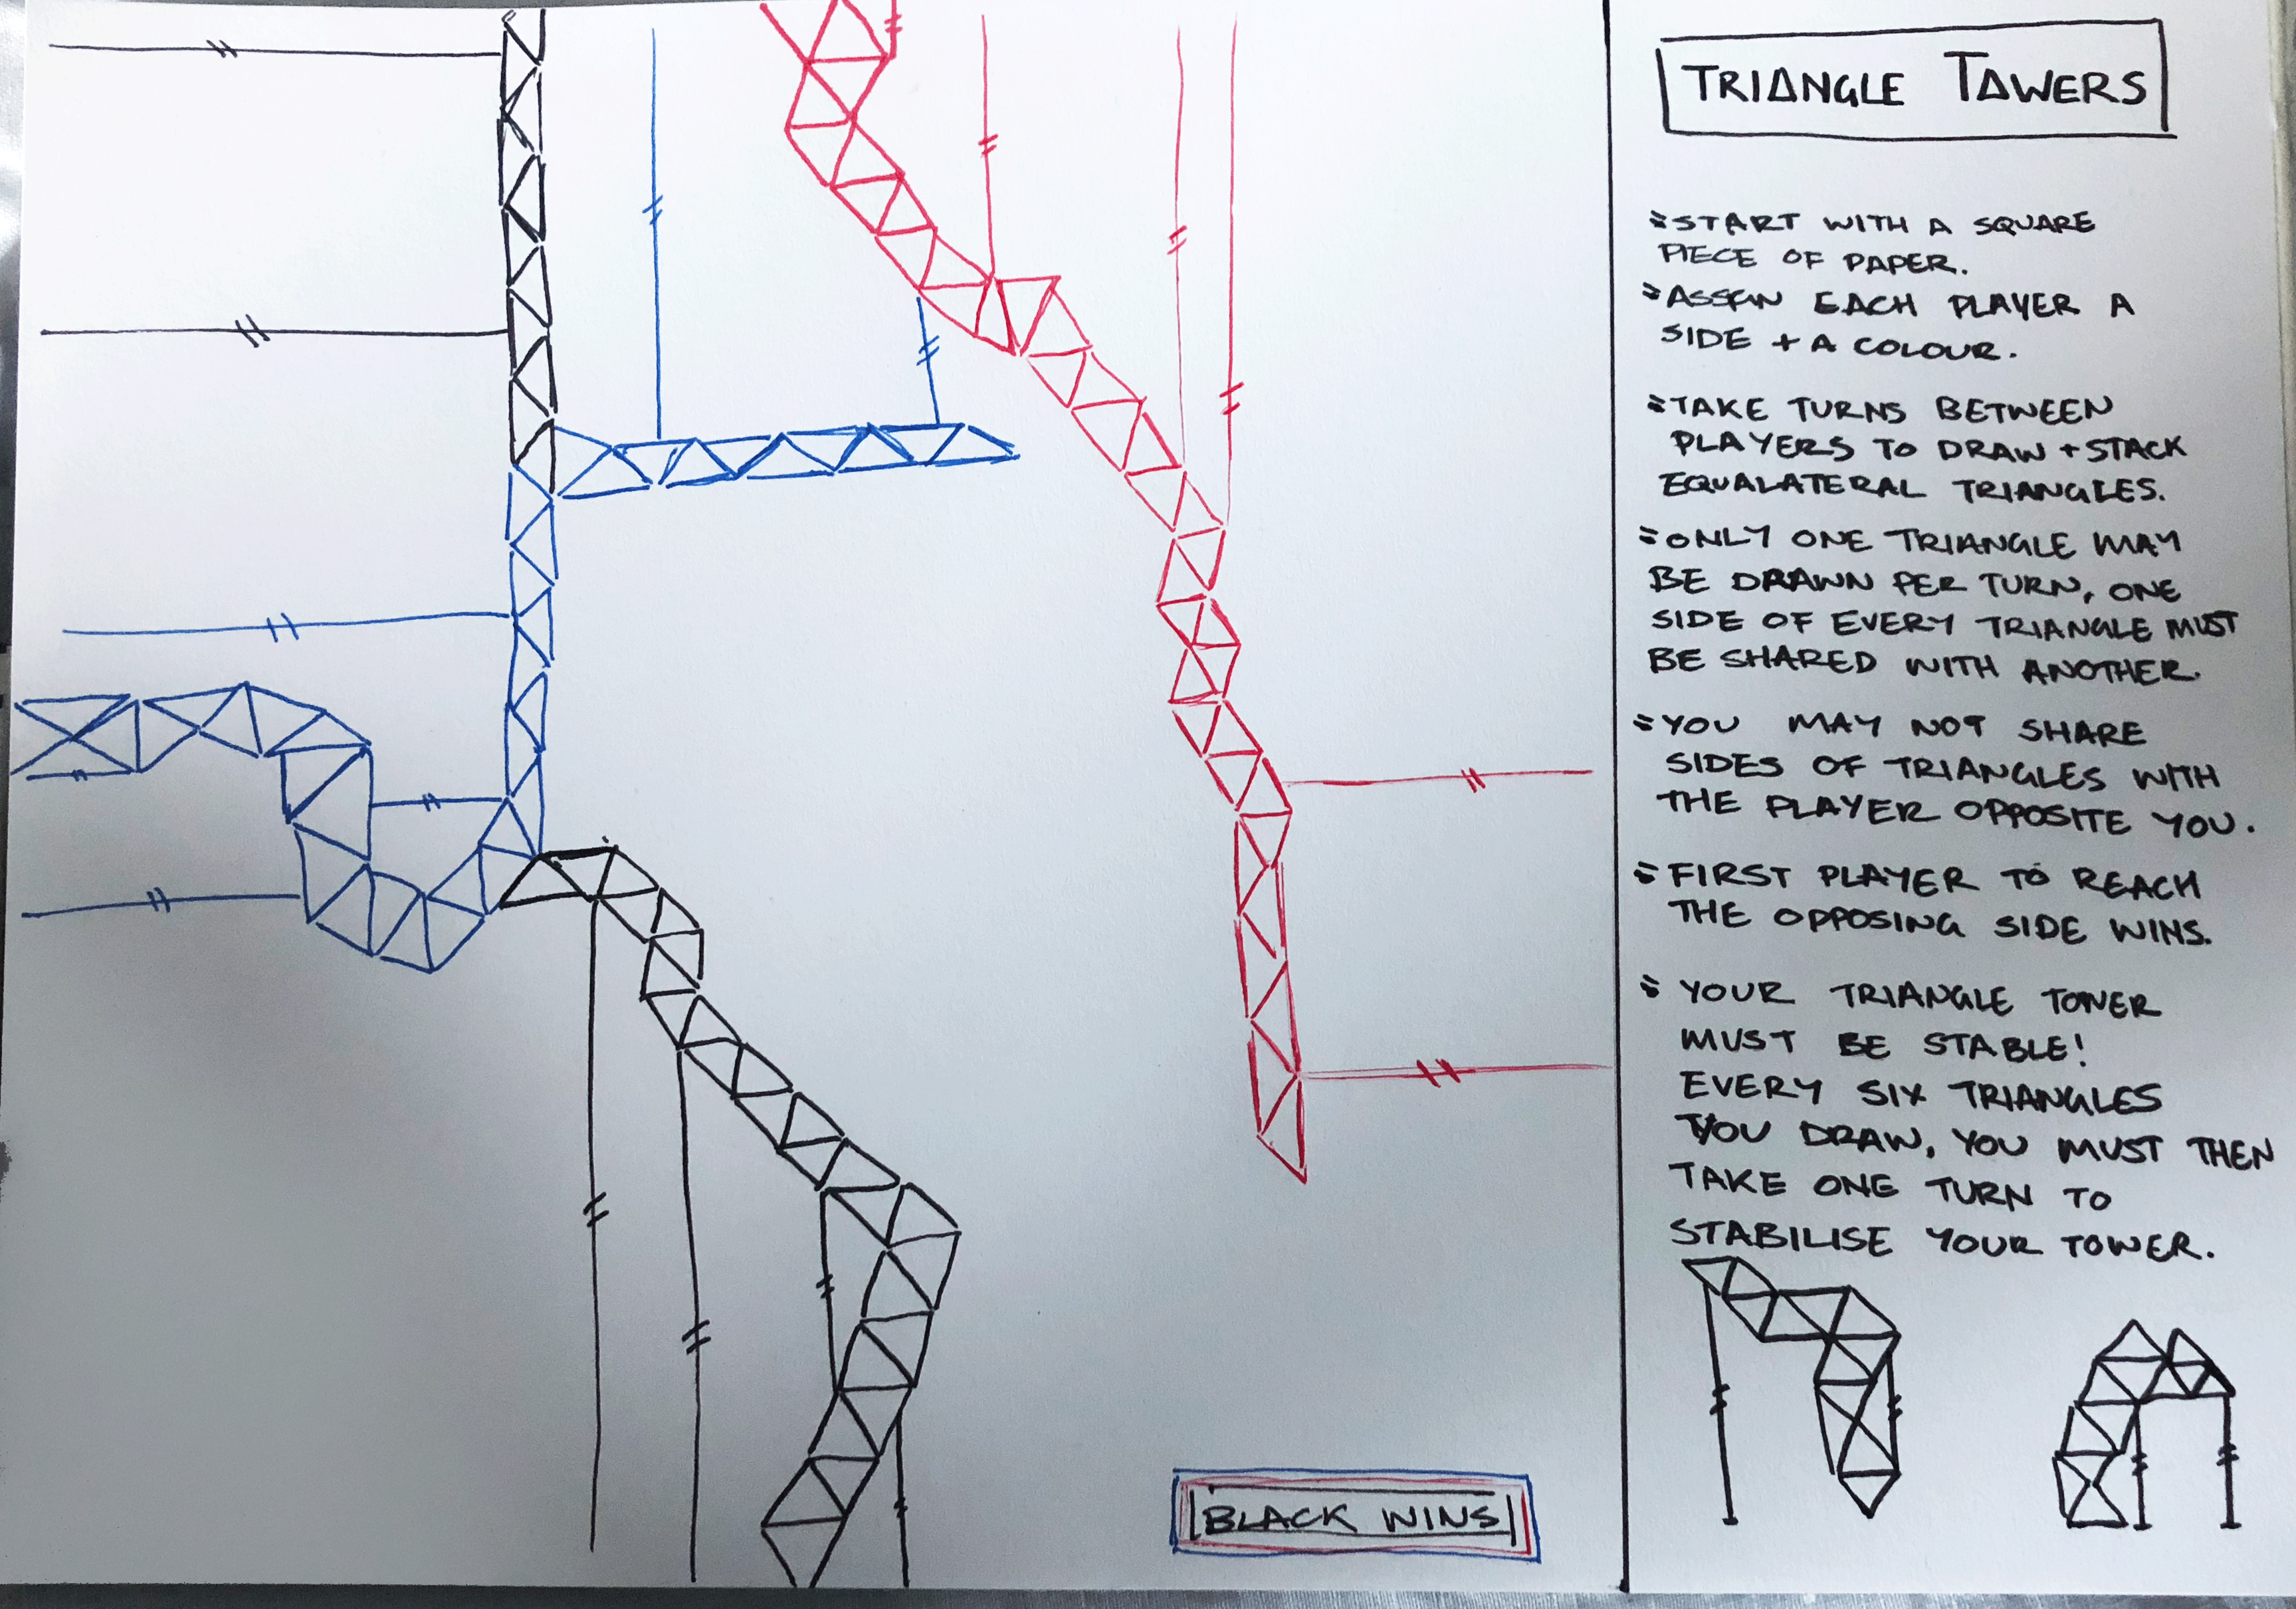
The third task was to make a third conditional design set of rules and to test out these rules on new people outside of class. What I came up with was ‘Triangle Towers’ in which the aim was to create a tower of equilateral triangles to reach the other side of a sheet of paper before the other players.

When this was tested out on a group of three players what I discovered was that the players altered the directions of the stabiliser poles to what was convenient to their path than what would be more realistically stable. Another aspect that was the player altered (unintentionally) was that their equilateral triangles began to turn into isosceles triangles, this sped up gameplay but the patterns made weren’t as unique. Perhaps an addition to this game would be to say that only equilaterals may be used when building vertically and isosceles for horizontal.

Design a site like this with WordPress.com
Get started