week eight – thursday 19 september
So I visited the FabLab to discuss with them what I wanted to do in terms of 3D scanning and they said that their 3D scanner scans an object sitting within a machine, this would not work for my plan to scan a hand.. They suggested that I talk to the people at the 3D Industrial Workshop about their 3D scanner.
This 3D scanner flashes lights at an object and generates a mesh file on the laptop as it goes. The object needs a base of sorts to ground the object. If the scan on the computer is green it is capturing, if it is red you are moving too much/too close for capture, if it is blue, you are too far away.
The scanner struggles to capture the underside of an object but it can work around a more unusual shapes than that of the FabLab scanner. I was also told that it struggles with shapes that are smaller than about 15cmX15cm.
This was the shape that I 3D scanned in my induction.

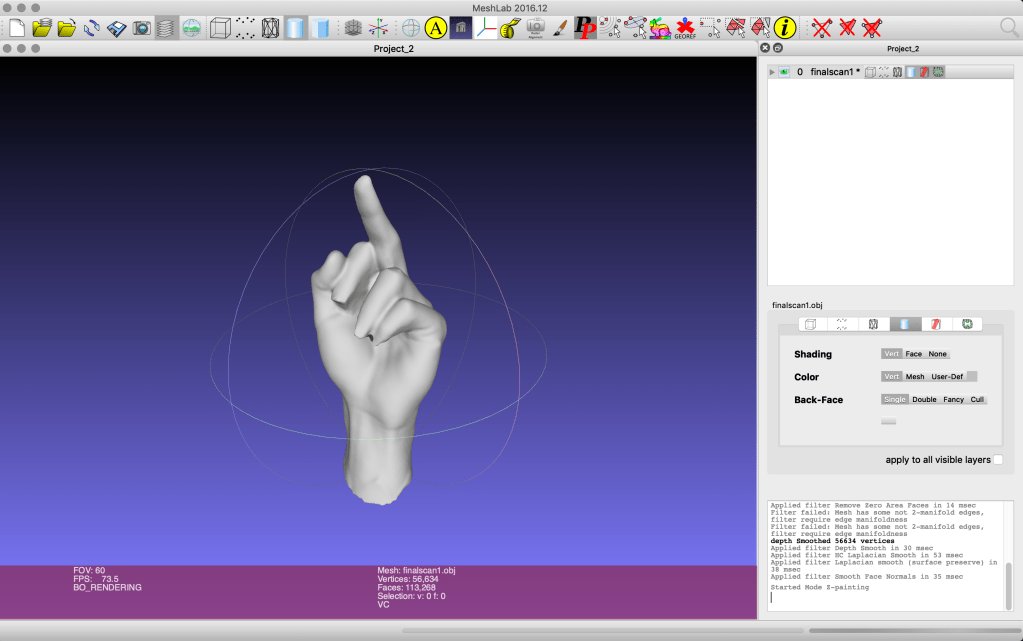
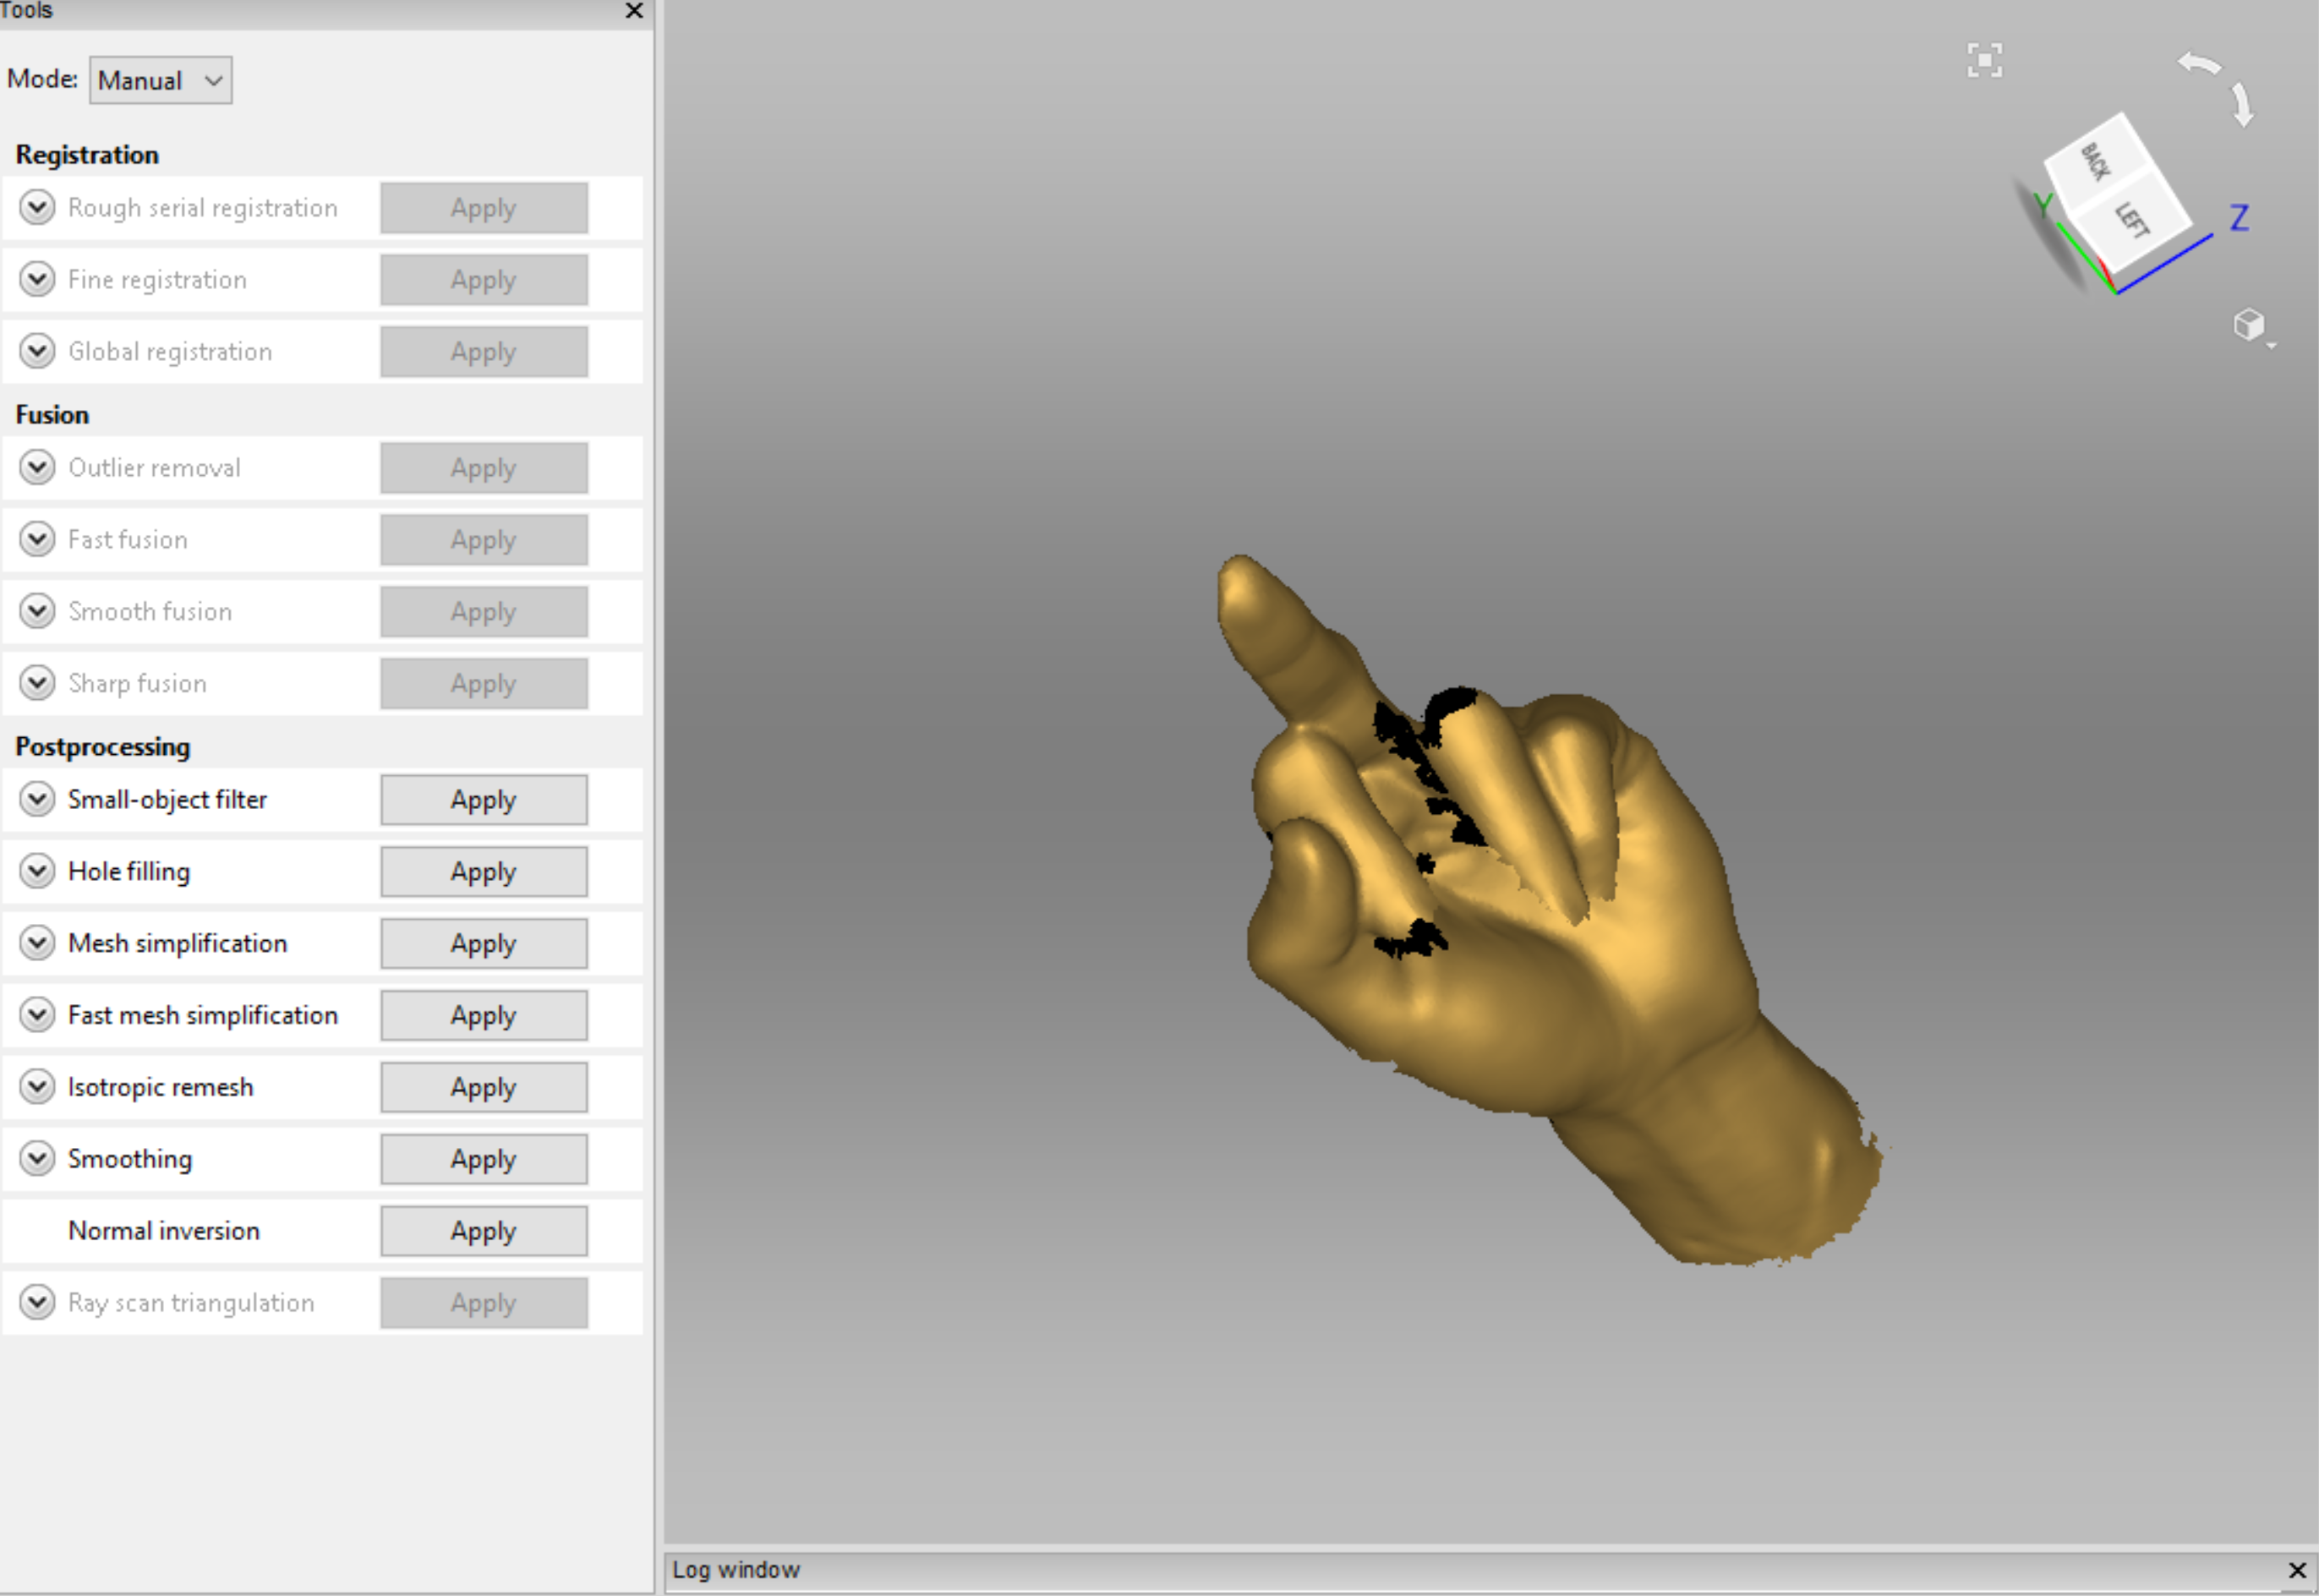
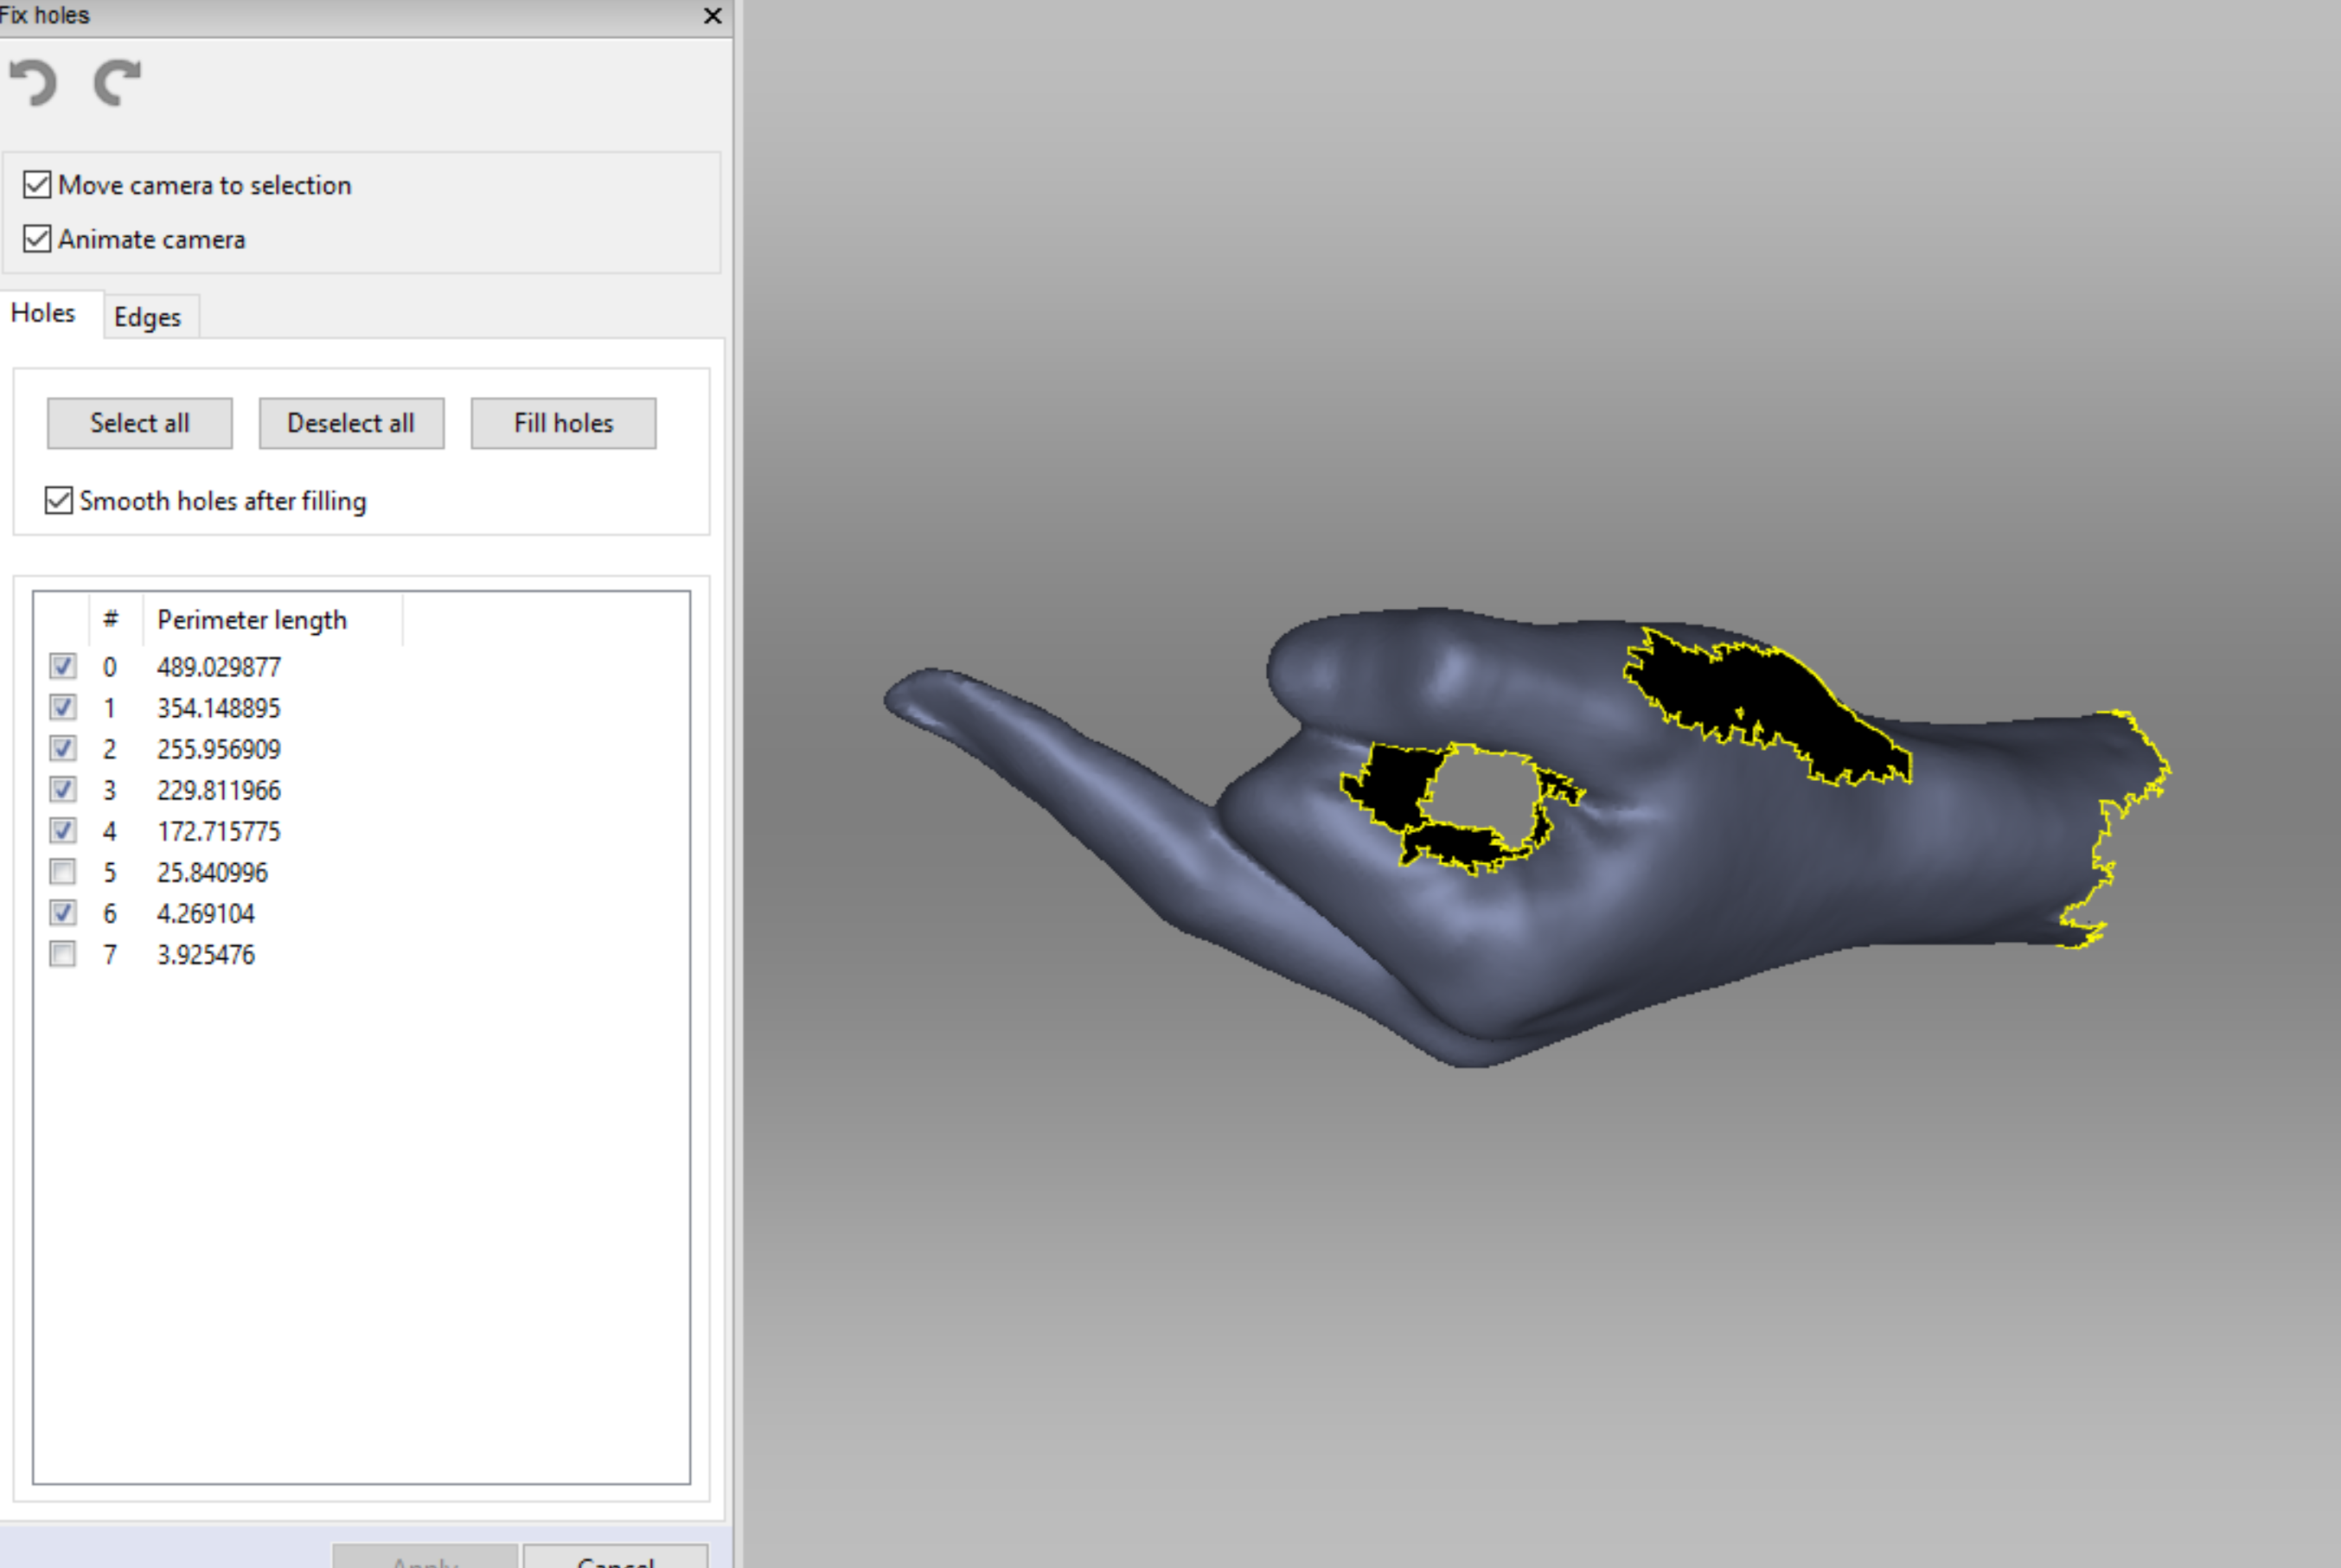
Once you are happy with the detail of the mesh scan you apply a range of tools to the file to refine it. You can also use the editor to remove sections of the scan, such as the base.
Then you can export the file as an OBJ or an STL.

I then used the rocket example processing file as a starting point in brining in OBJ files into processing as PShapes. This generated a whole lot of errors and didn’t work..
A previous load of an OBJ file I downloaded from online using the same format however did work (with some errors showing). I still have no idea why one worked and the other didn’t.


But because time is a pressing matter I needed a hand scanned soon. I needed a hand than my own, firstly so I could scan it and secondly because I was worried my hand was too small to be captured, I was already pushing it a bit with trying to scan something smaller than 15cmX15cm with such detail.
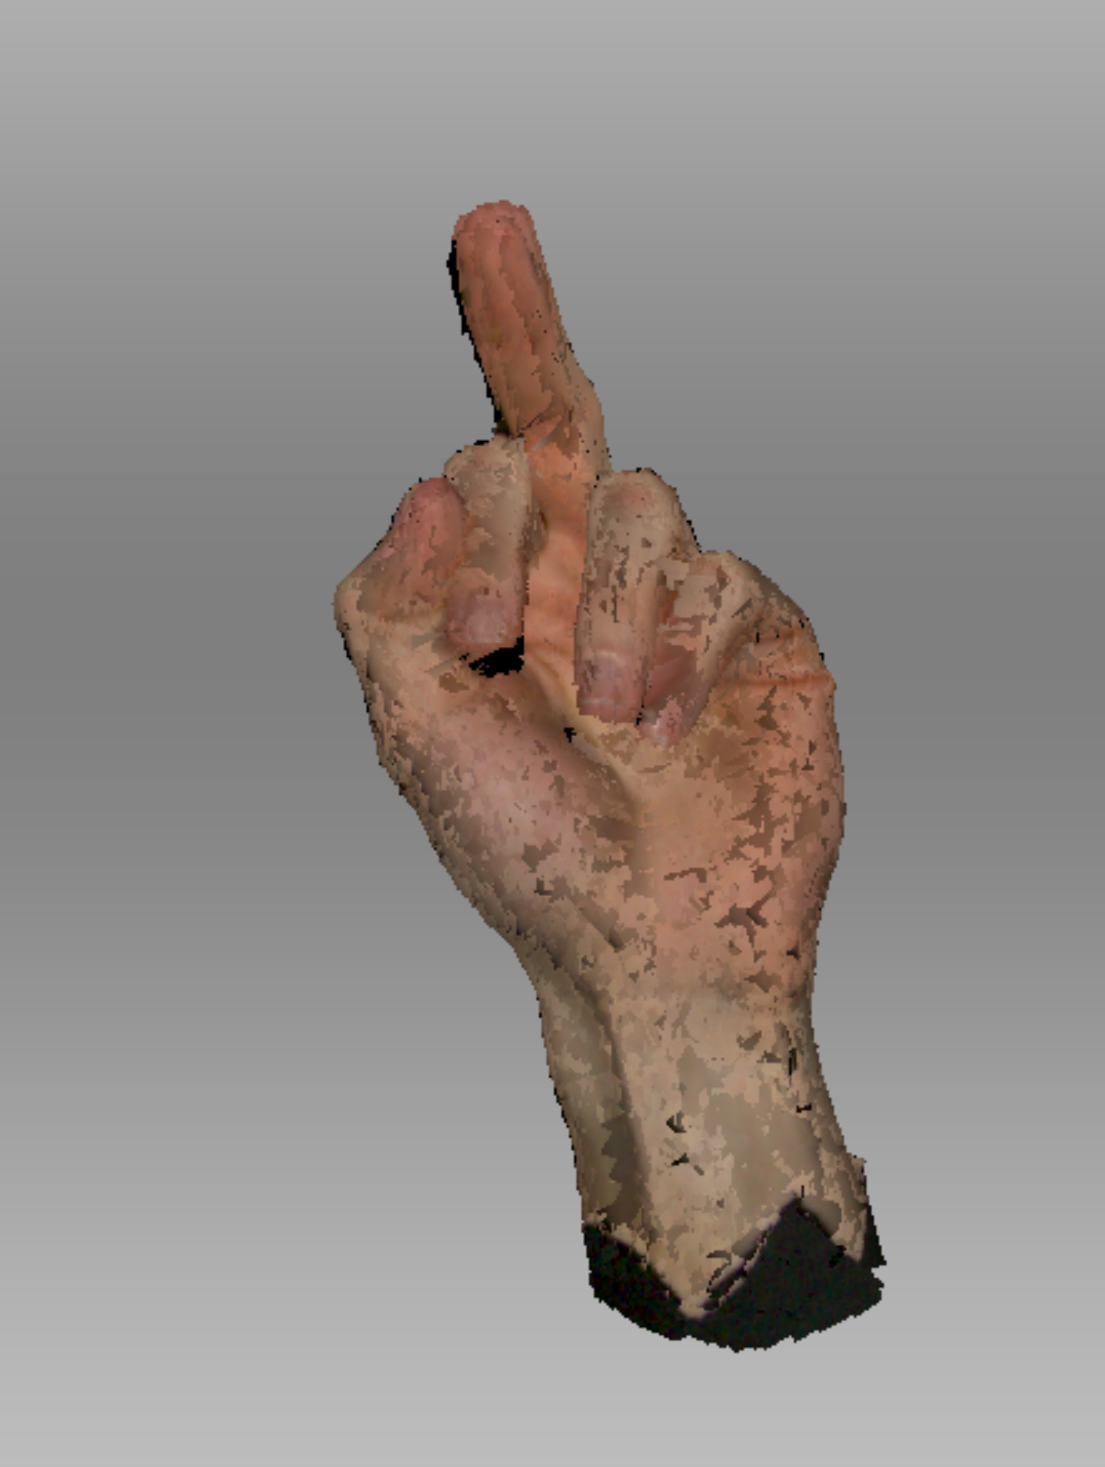
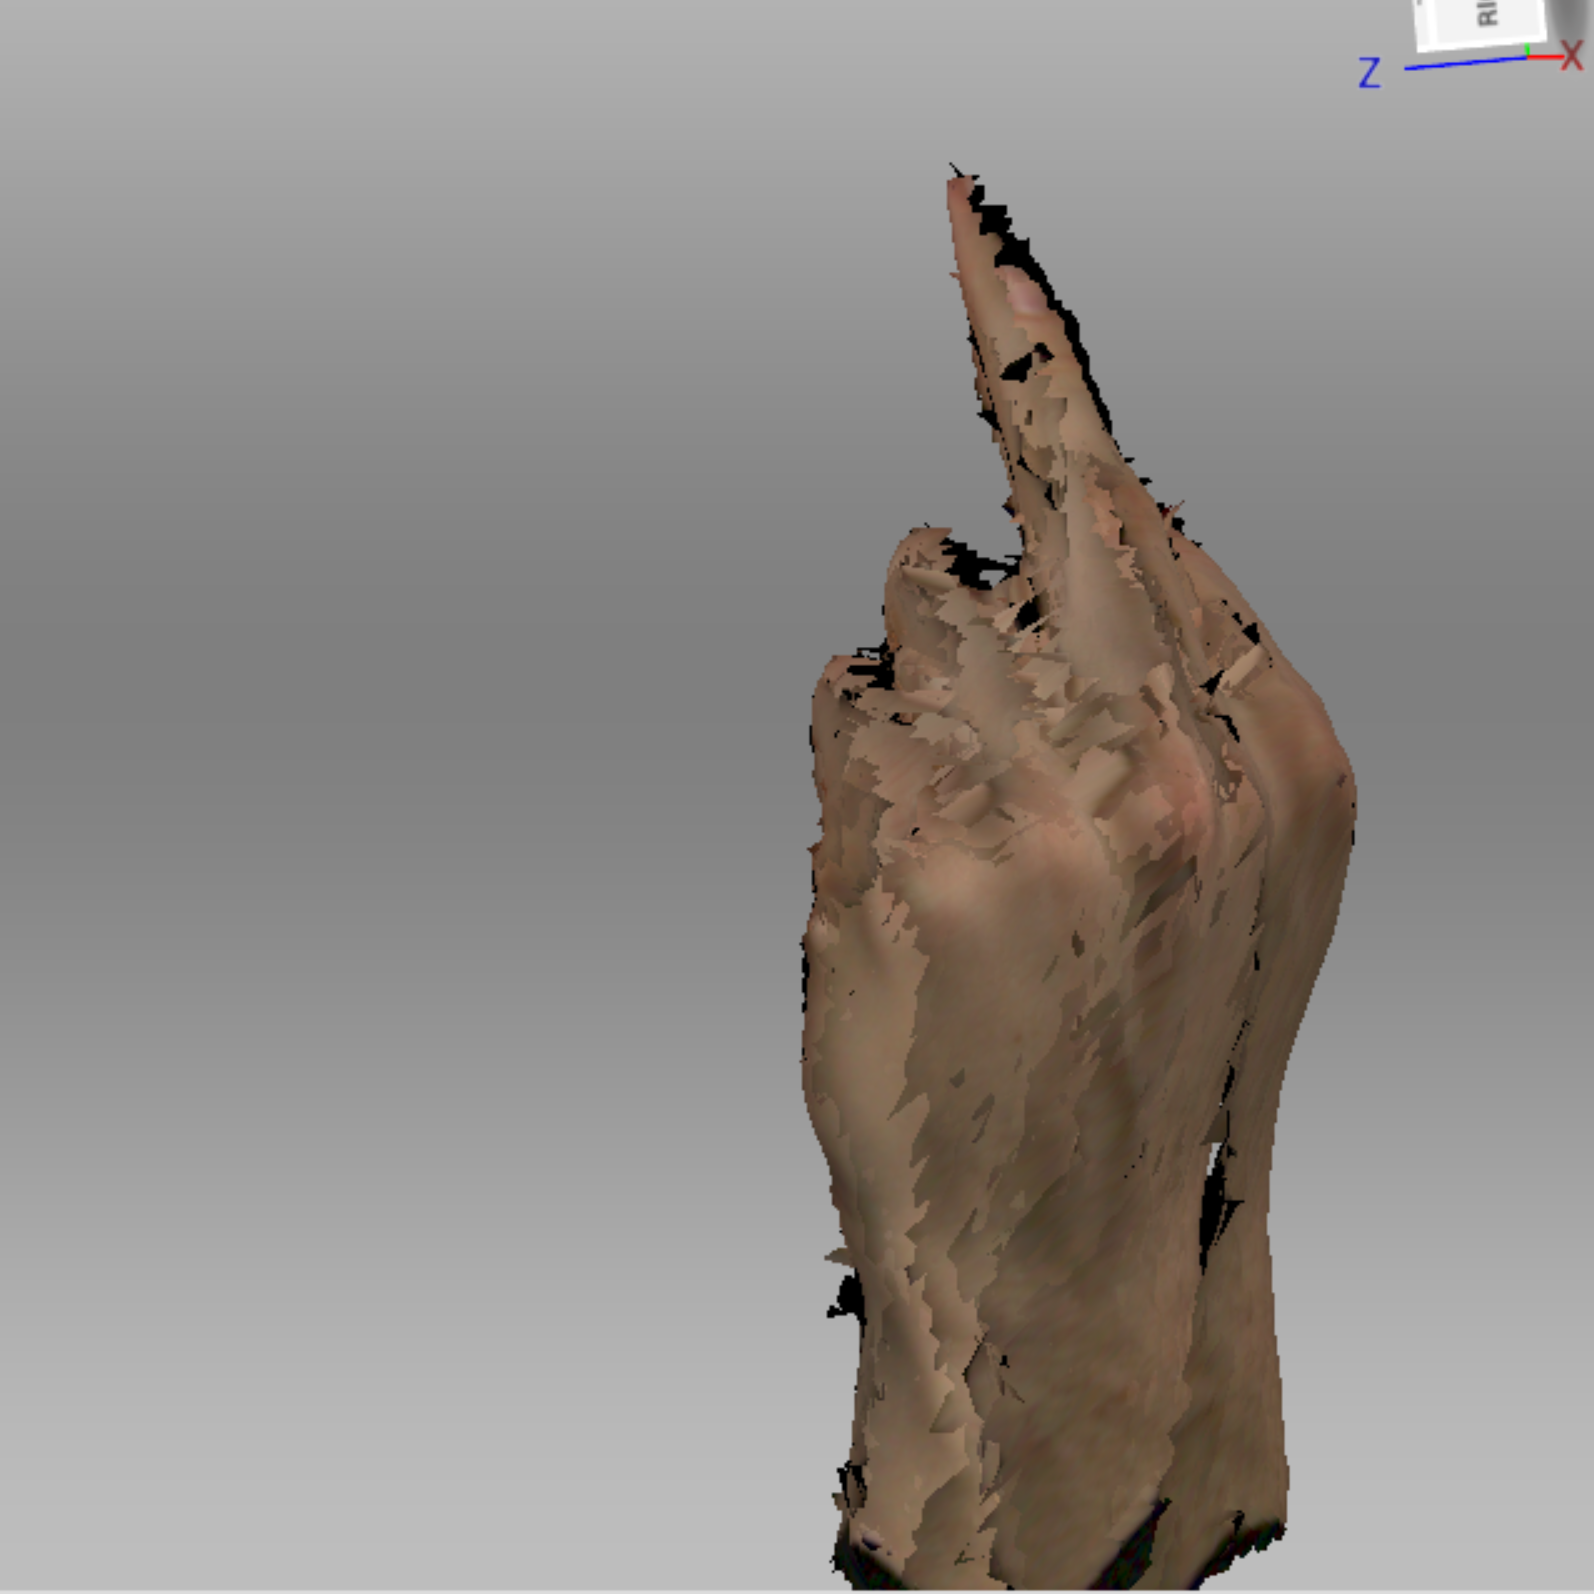
This is the initial scan of Isaac’s hand once I removed the base (my base was made of a piece of cardboard with a hole in the middle and a black sheet with a hole on top of that – Very high tech I know. Isaac had to pretty much lie on the floor so I could scan his hand.)
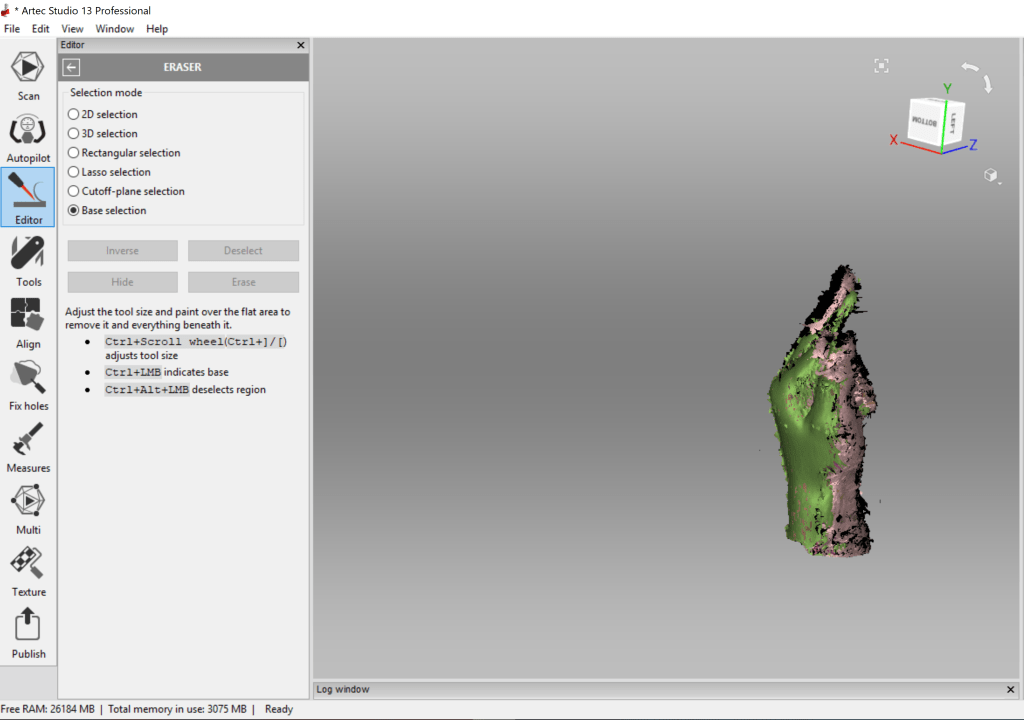
I then applied a bunch of tools & hole fixers to actually get it to look like a hand. I also saved a bunch in between each of these edits as I still didn’t know why the other practice scan I did wouldn’t load in Processing and wanted to have every version available if I needed it.
The order of the edits in this slideshow is;
Outlier Remover, Global Registration, Smooth Fusion, Hole Filler (selection), Hole Filler (completed).
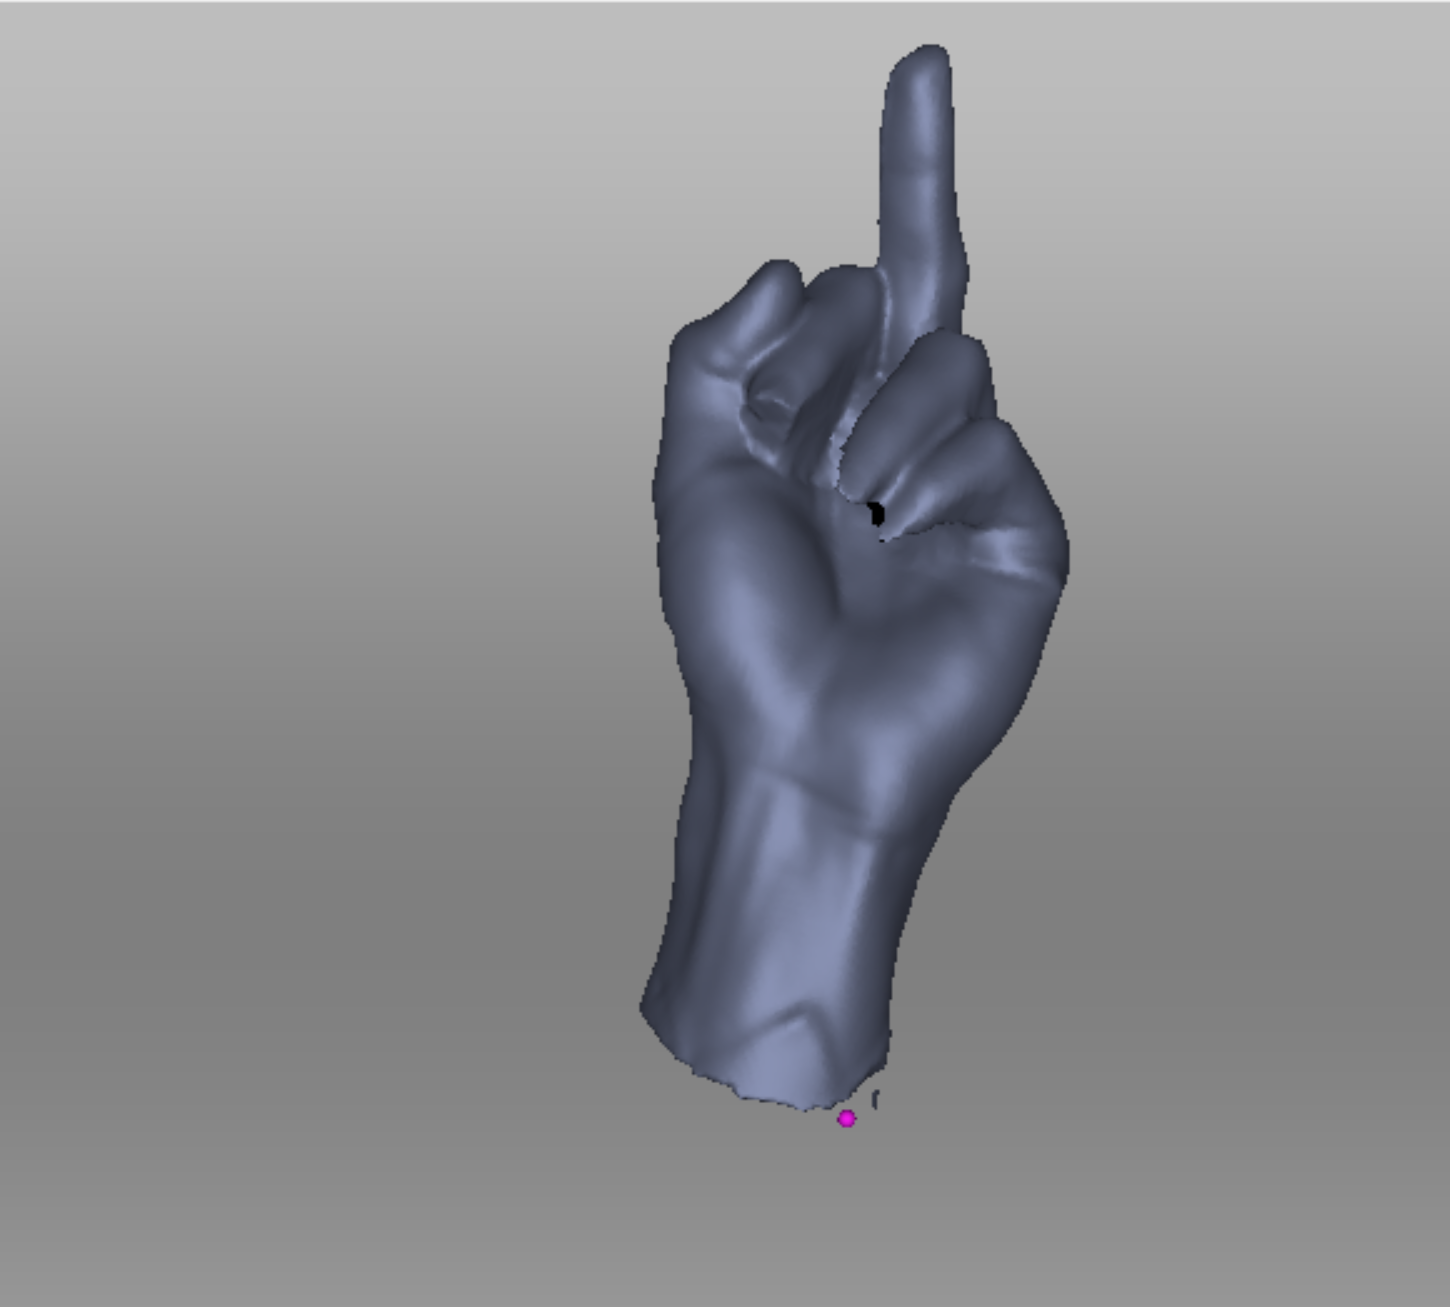
I was actually so surprised that it worked, here are some videos I took during the refining process.
Then to make sure that my model had the best chance of actually working in processing I refined it through the MeshLab program.